Where were we?
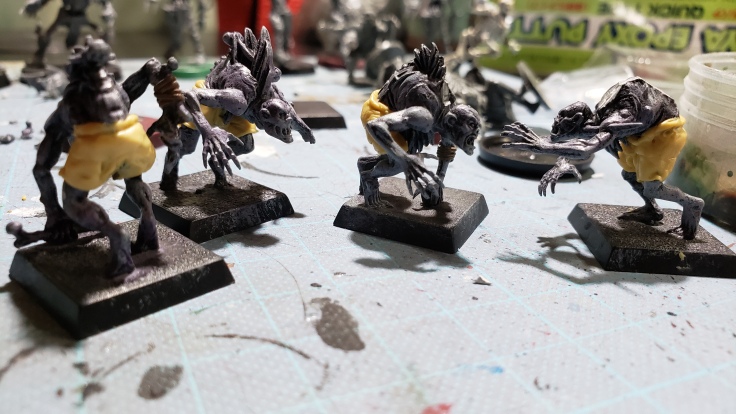
Ah yes. Spending far too much time waiting for werewolves and fretting over making shoulderpads. But such is life. Well, in any case, the wolves finally came in and they ended up being the spur kick to the side I needed to get this wagon train moving again.
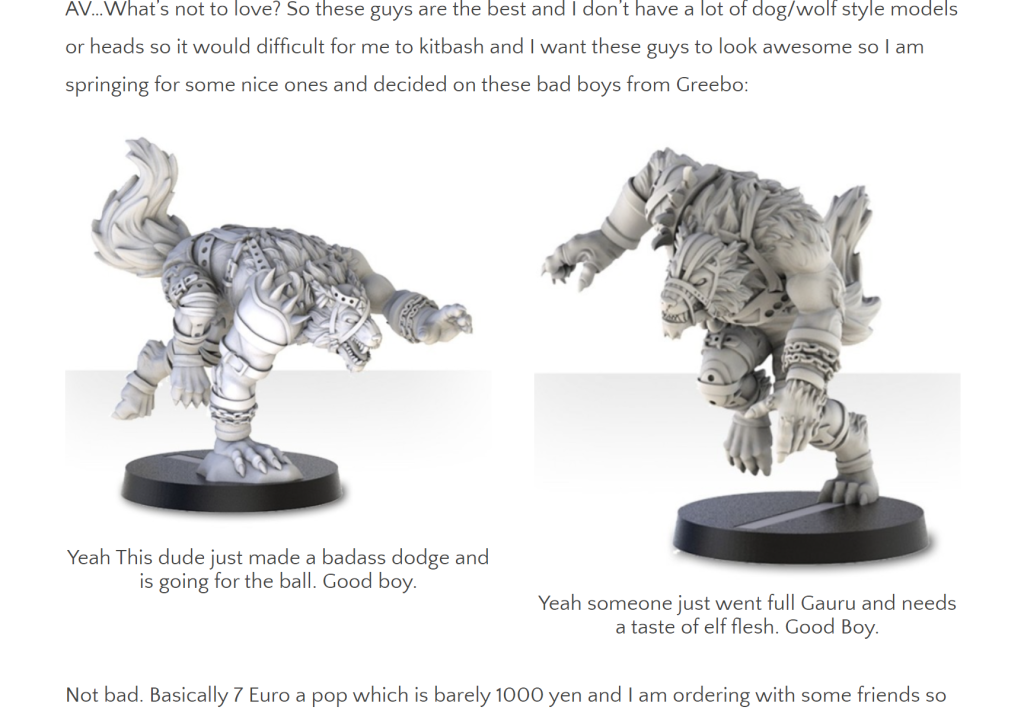
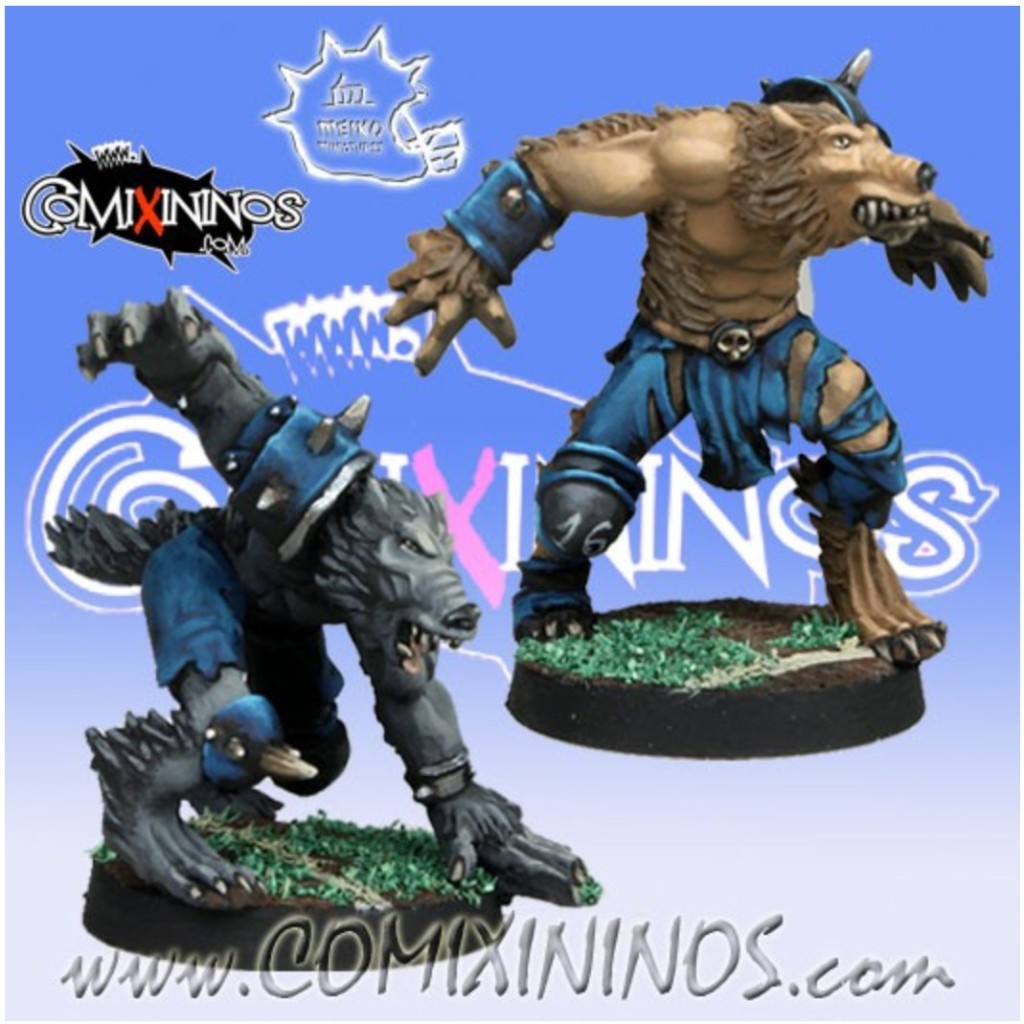
Turns out they discontinued (Forever?) the wolves I had planned on buying from Greebo right before we were able to order them, so I scooted around a bit and found a decent deal on a pair of pretty good looking wolves on comixninos made by Meiko Miniatures. Don’t worry, I get zero kickback from that link since I am not terribly monatization-minded. But they look decent! Here is a side by side of what I wanted and what I got.
Pewter? I barely even knew er’!
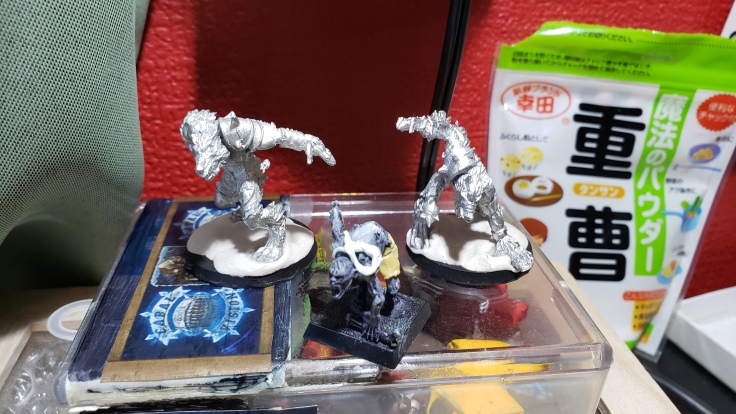
Yeah let’s both forget I just typed that (Yet it remains…). So when my wolves came in a full on month and change after ordering them (Pandemic + Year End Holidays. Whoops) I jumped right into it.

So I jumped into it excited to work with pewter again! I hadn’t touched or properly built a fresh metal model in decades so I wanted to do it right. My friend ages ago talked about ‘pinning models’ and it sounded like dark sorcery back then, but I have been doing it like crazy since I snagged this cheap dremel and got to work.
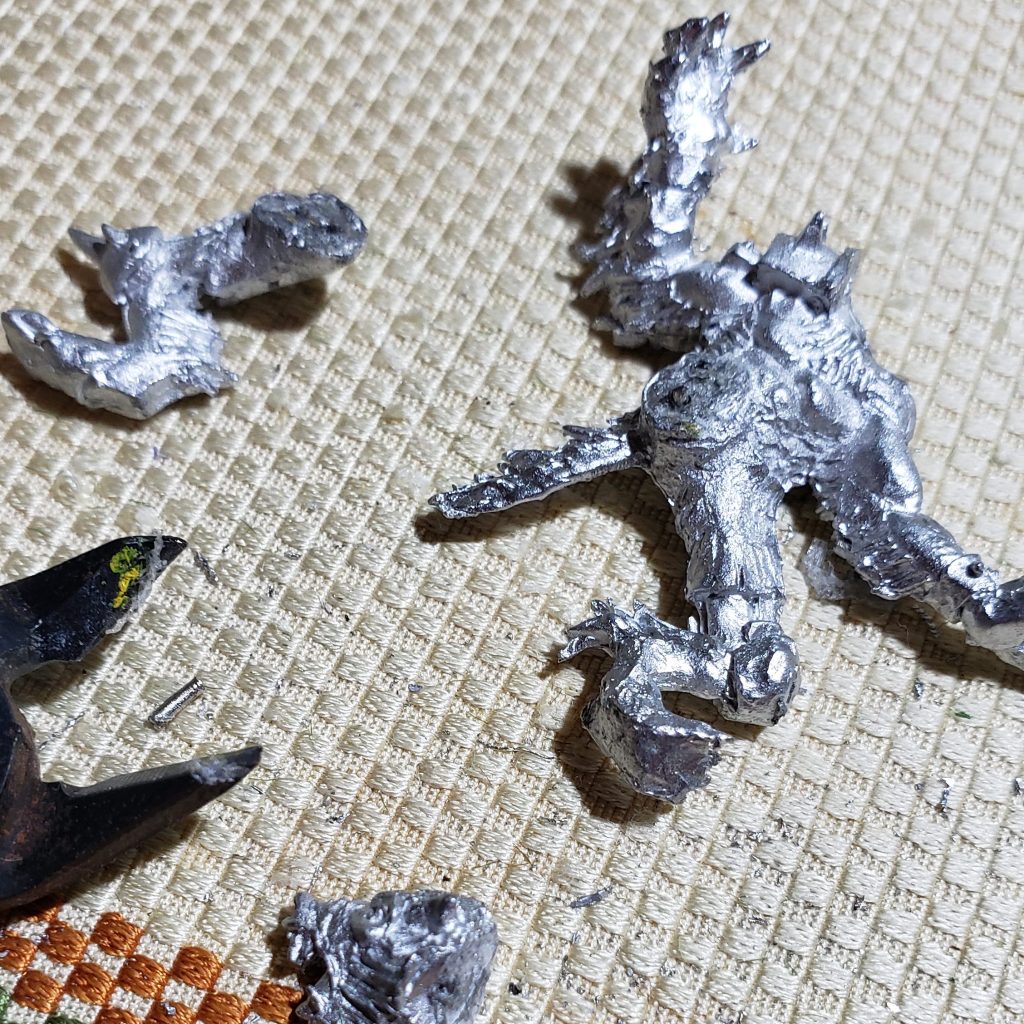
Drilled in the leg zones and the head and tails for both my wolfies. Glued em up and posted them in strange positions so they could try properly.

But apparently I didn’t use the right glue and these wouldn’t have lasted a single game of use and I pulled them apart in impotent rage. Not realizing that I had the glue I actually needed literally within arms reach in a drawer behind me, I decided I needed to go out to the home center the following day and get some glue that can tame metal proper and get the job done right.
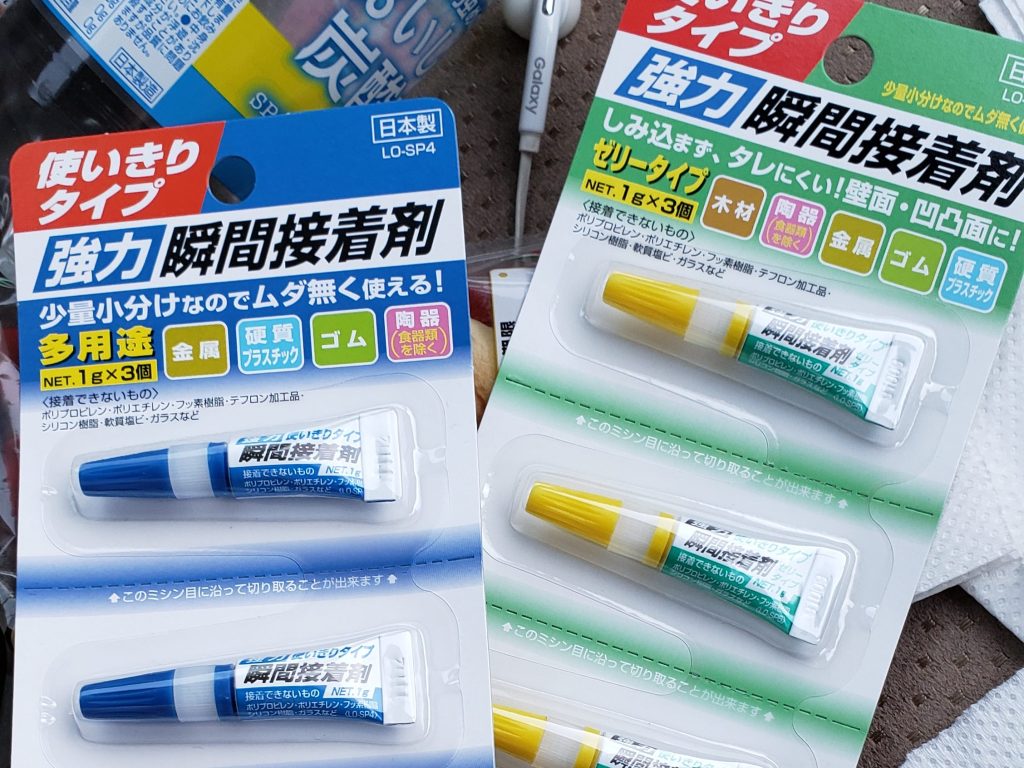
This stuff did the job. And while I am not sitting around huffing glue or anything, it smelled exactly like zap a gap I used to use literally 20 years ago on my old ass models when I just started up warhammer. And just like zap a gap, it worked like a charm!
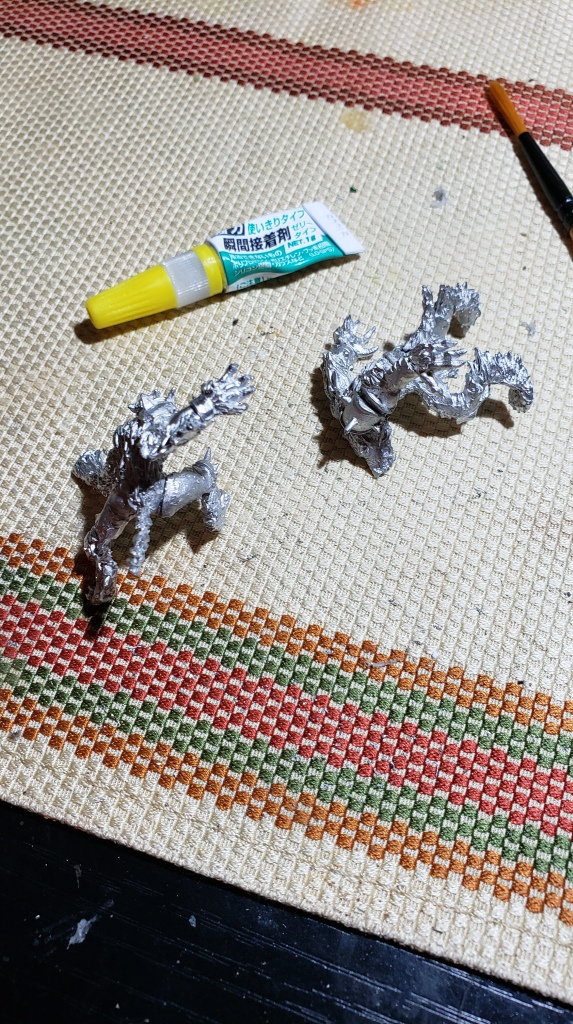
The bases for my wolves are 32mm, (New)standard blood bowl size, but despite that, Meiko apparently does the same thing that GW does and that is make certain that every model has half their foot hanging over the edge of the rim of the base. Ahh, it’s a little annoying, but when you want a big mini on that size base there is little you can do besides roll with it. (Thanks Pillowcat).
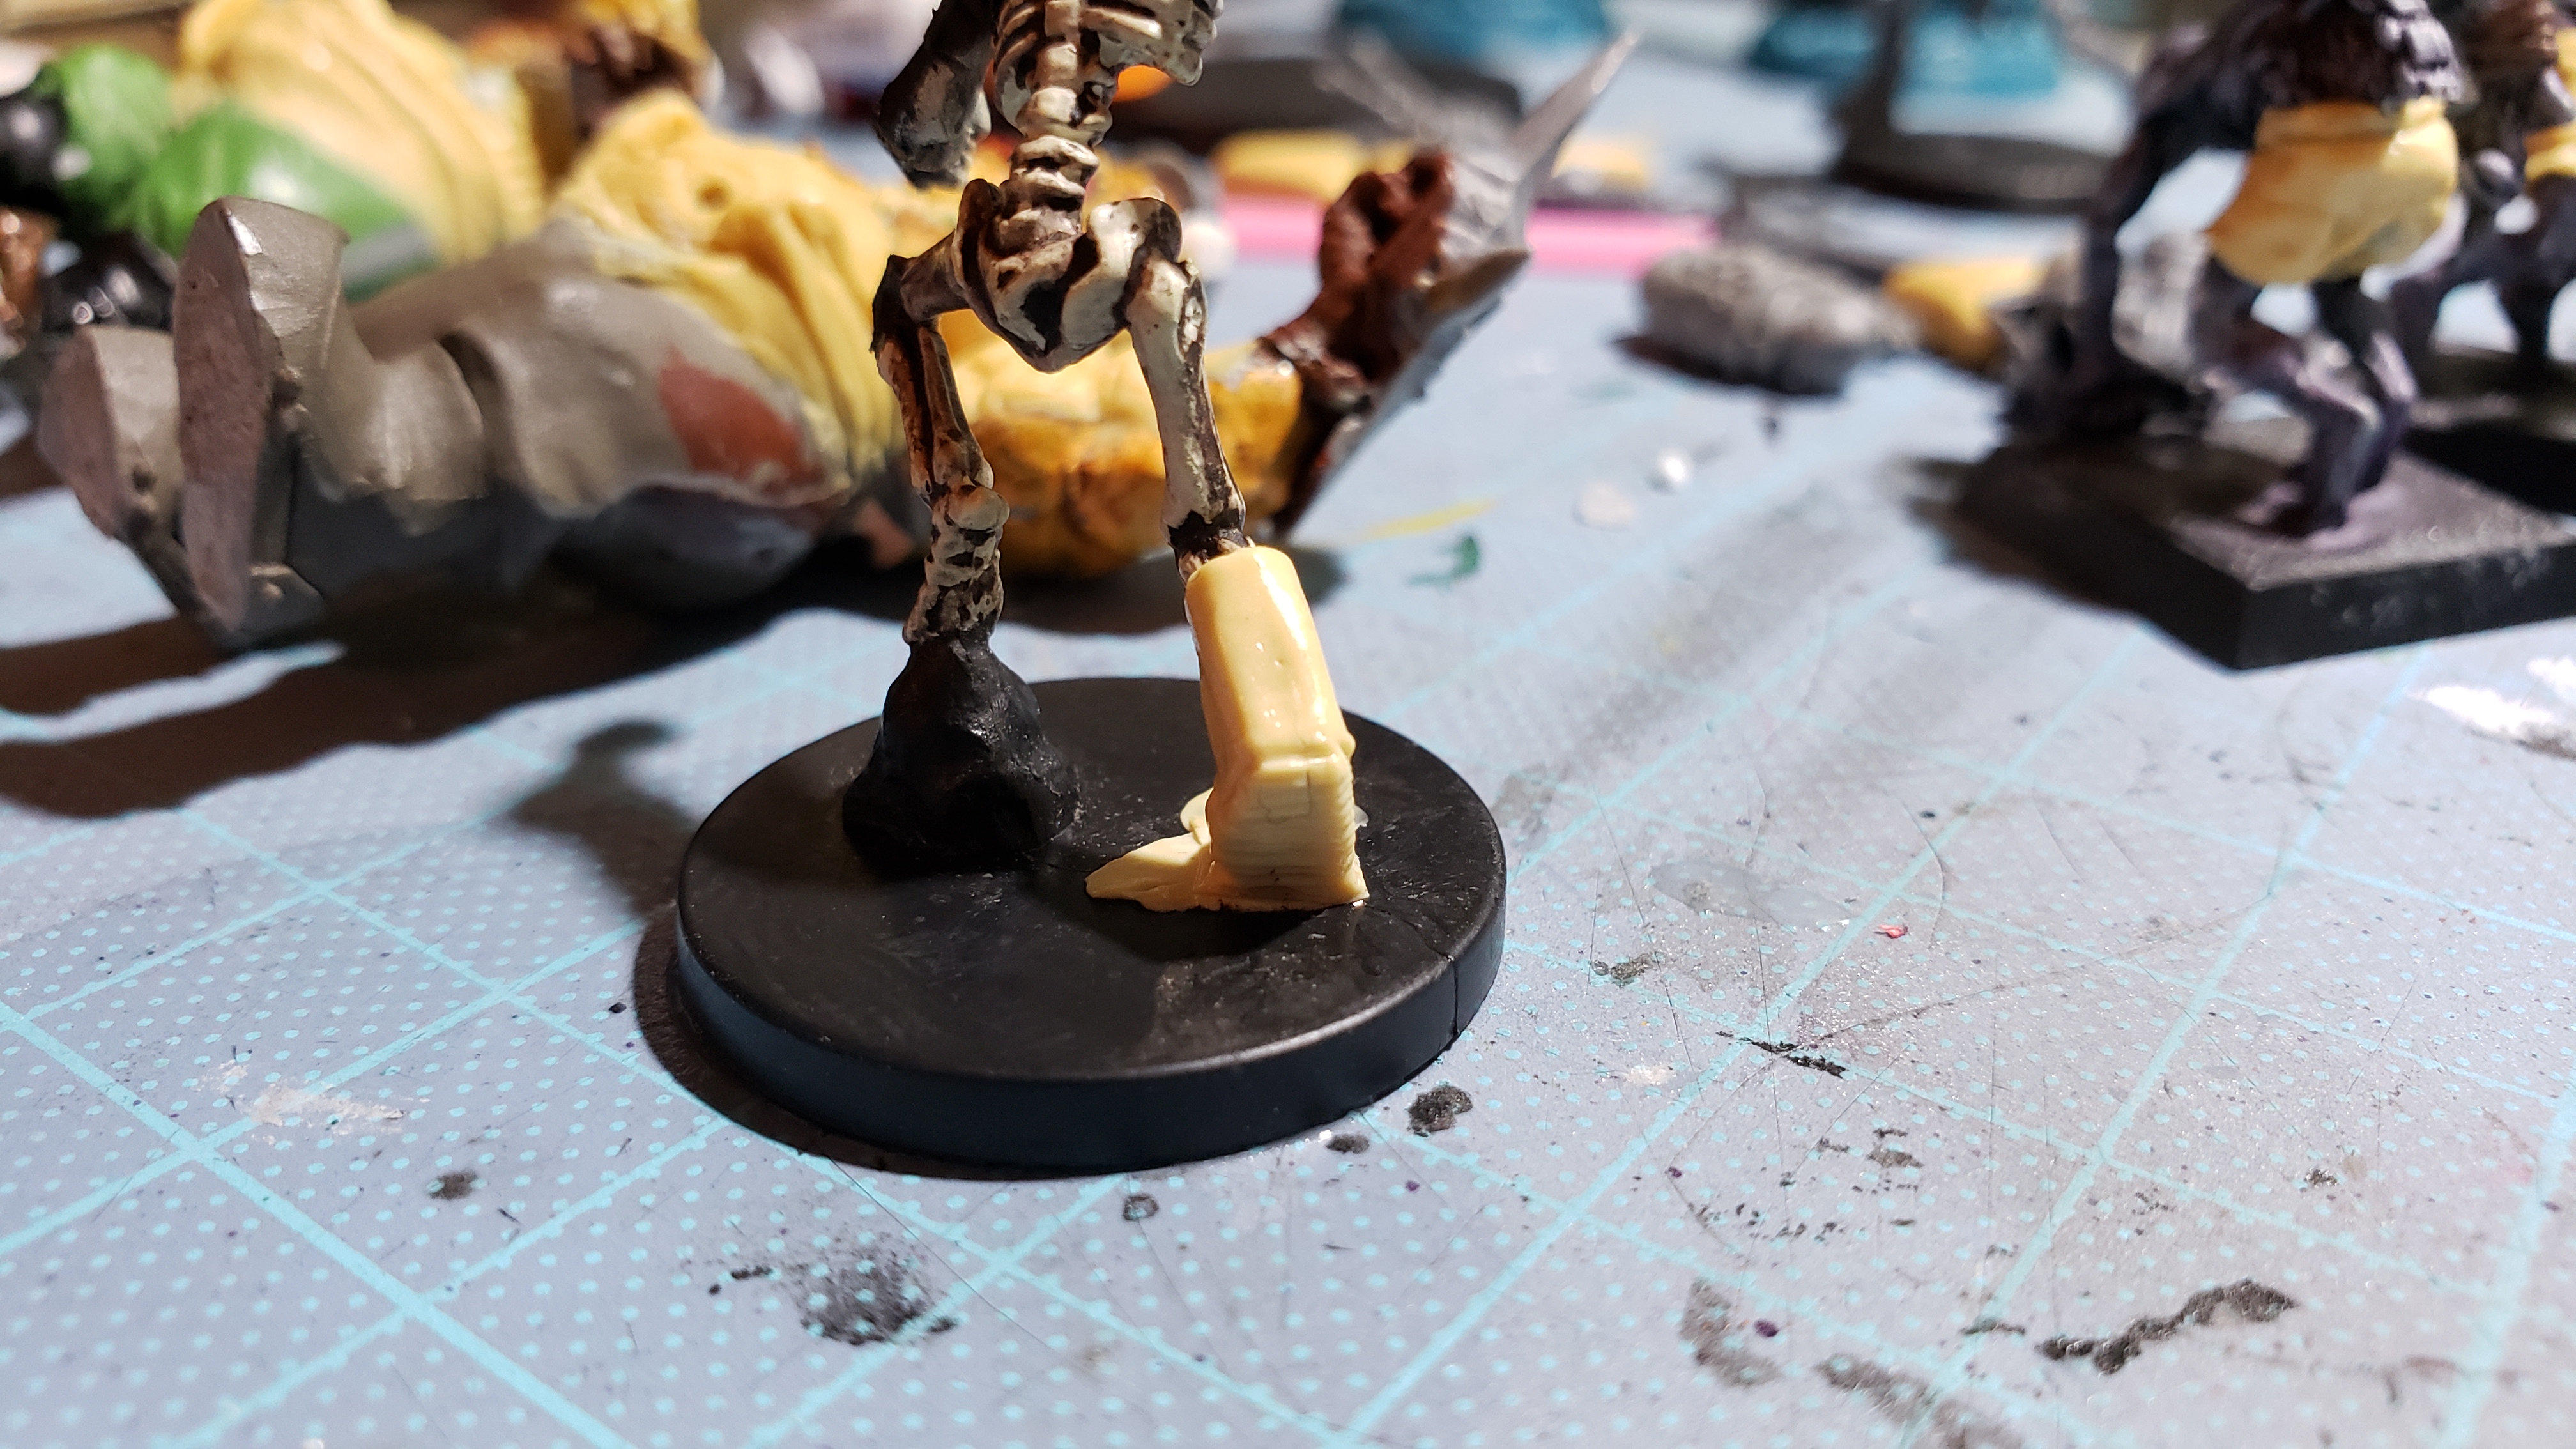
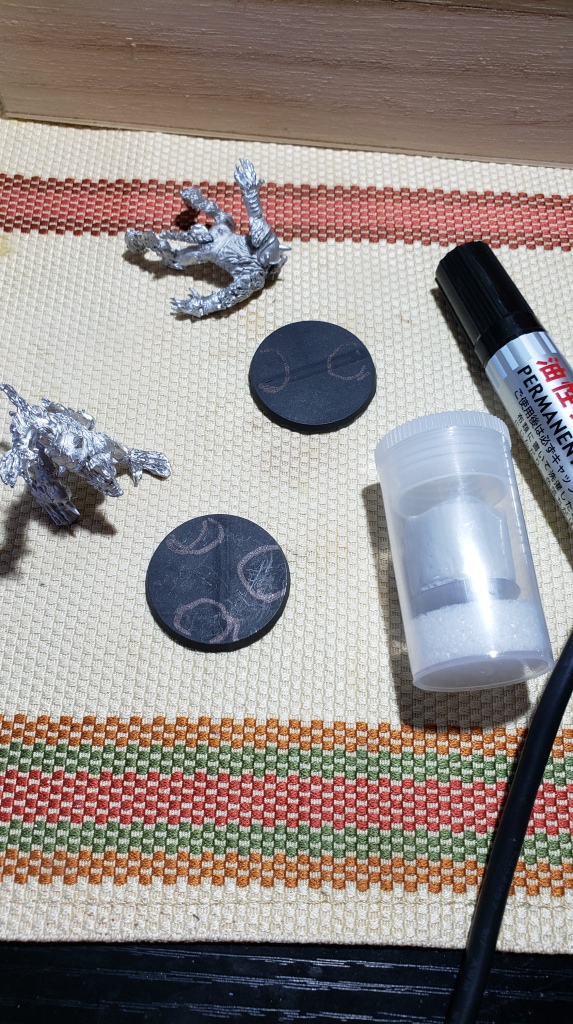
But I had a plan. I recently obtained some ultra cheap (And …stanky) epoxy putty from the daiso and have been experimenting with it recently. And it hardened super quickly (Stinkily) and was very firm as well. I intend on having kind of mostly muddy bases for these undead since it is the way and a solid plop of putty won’t be a big deal. After I sketched out the location where I needed putty carefully, I then proceeded to just putting way more than I intended on in the first place. It all worked out, but one wolf-knee is far closer to the ground that I would like and it will affect the painting process I believe.


Nice. I pressed in the base points which would touch, pulled it off and then slathered super glue on the still pliant putty and put the model back on the base and snuggled the putty up around it where possible and waited. Worked like a charm and has a fairly decent effect. When I get into the basing stage of this hobby adventure I will come back to that, but I actually do really like affixing models to the base using this method and I may revisit it in the future.
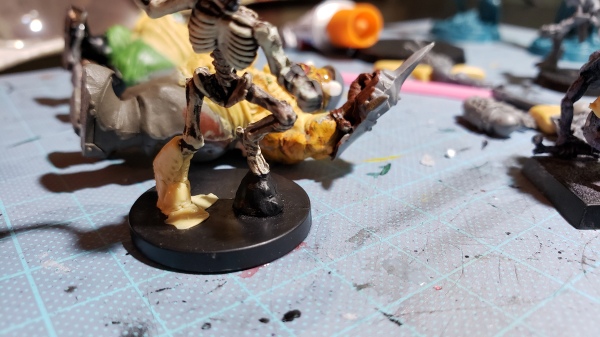
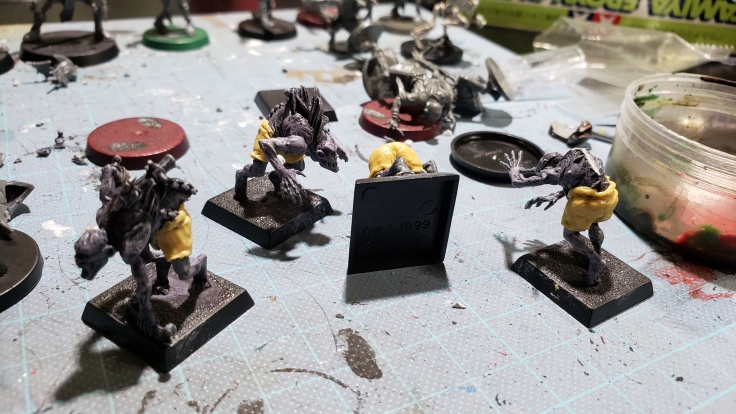
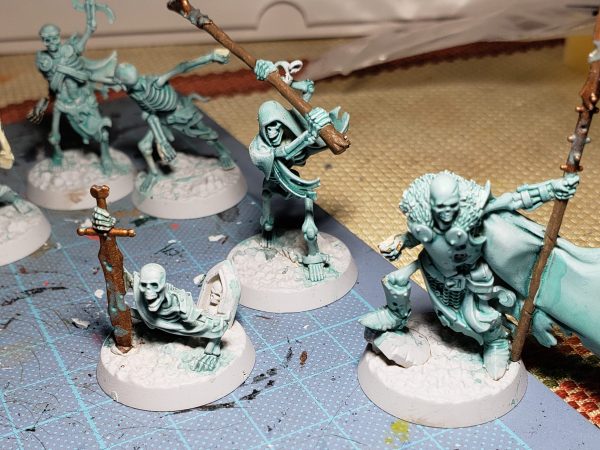
Anyway! Wolves are done! How about those skeletons?
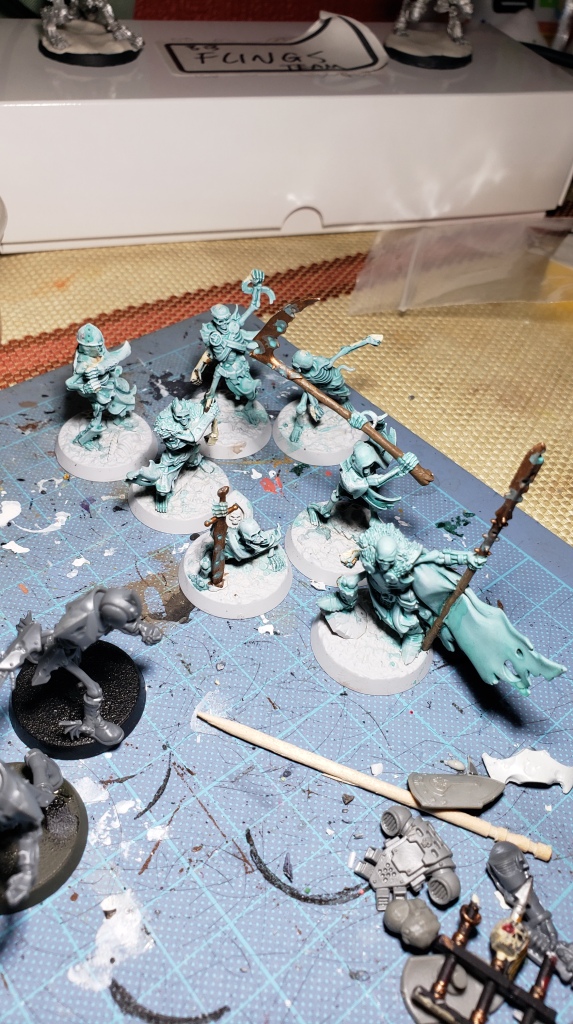
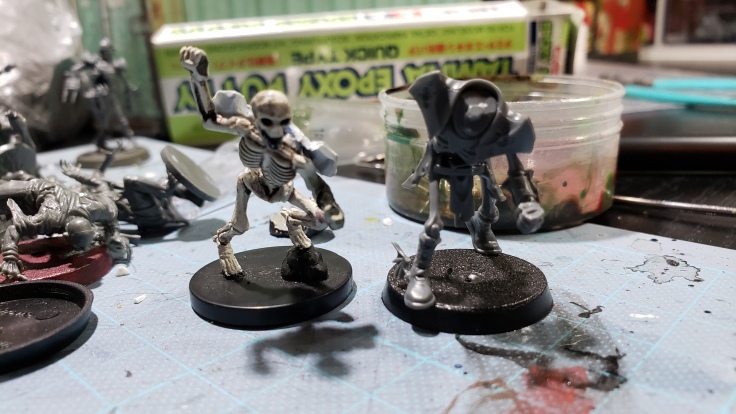
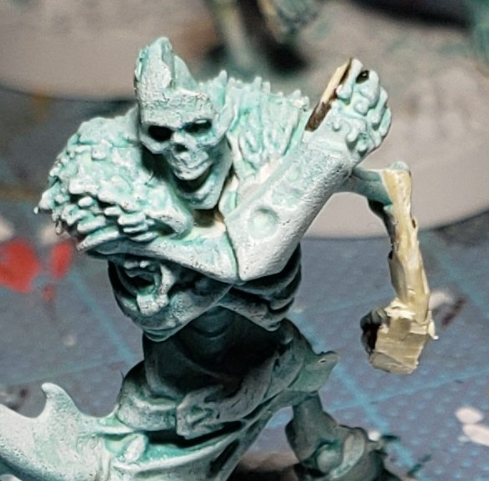
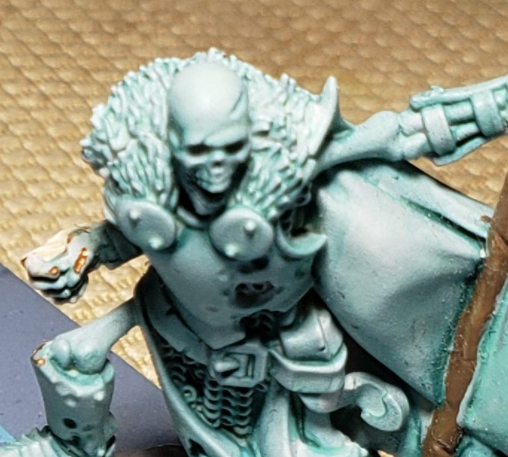
Skeletons look half decent so far and I am pleased with them. Awesome models regardless and got em for a good deal so I am thankful for that. The weapon/shield clips look a bit rough right now, but I did some carving here and there and only some of them look meh. These will mostly be positionals on the Khemri version of this team or sideline staff. Or if I go crazy needing skeletons or something and there aren’t enough line skeletons. Here is what I am envisioning going forward.

I have plans for the coaches to make them more blood-bowly, but the apothecary will most likely remain a straight up reaper since, well, apothecaries aren’t terribly reliable or spoken highly of in the fluff and it’s cool. Not that I can use one on any of the three teams these dudes may represent. I just realized that now. I shall ponder that orb.
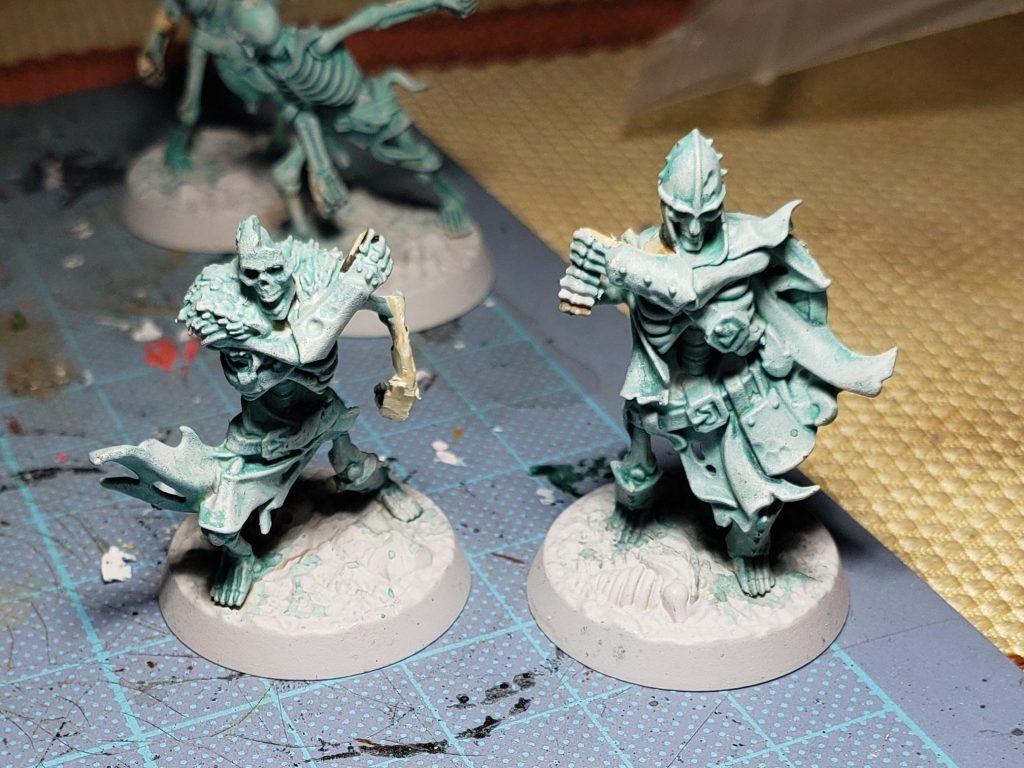
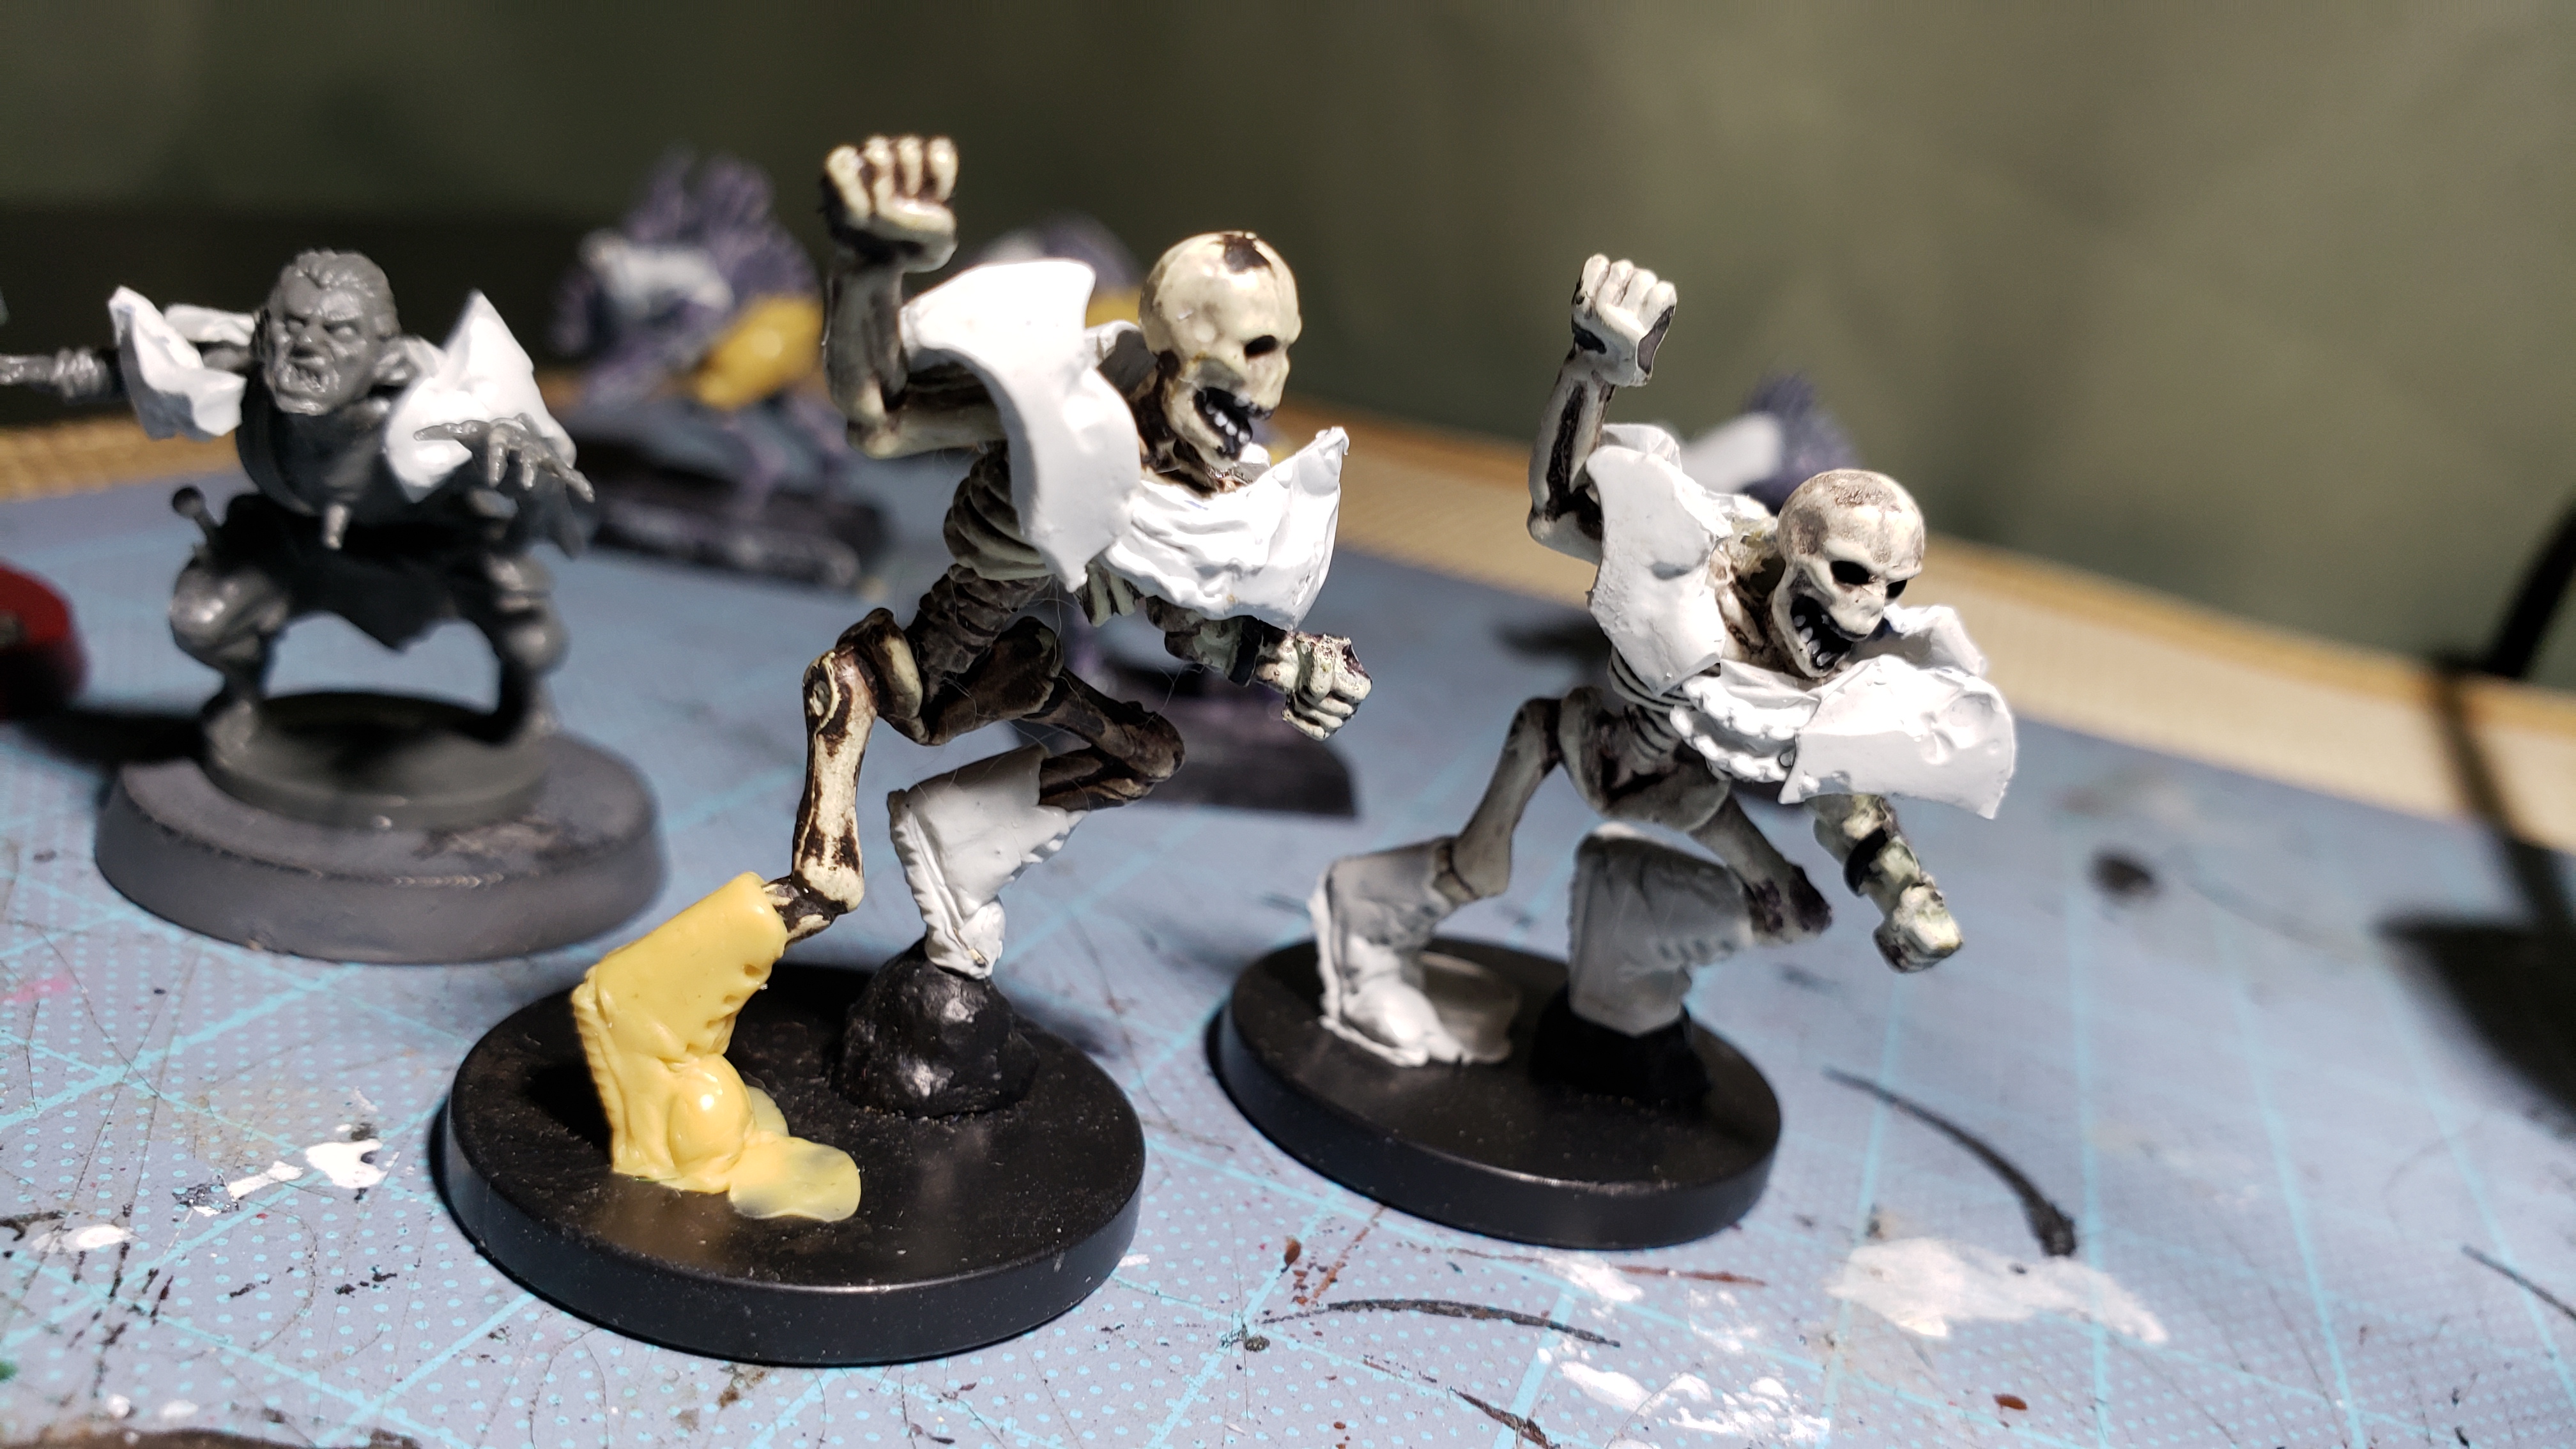
So these two dudes are going to be my blitz-ra’s. THe one on the left looks like he is about to deal out a fierce ass backhand and has a big ol’ chunk of noggin’ missing so he should be good to go as a blitzer, but the one on the right was clearly holding a sword. Do I leave it be and say he was going for some kind of trek-fu style double fist strike or perhaps do I clip the fists apart and adjust the back arm to be a bit more similar to his counterpart. I think writing that sentence I made my decision. That is what this blog is for. Reflection and forward thinking. I was really bummed about that pose but it will be two snips, some TLC with a blade and a single dab of plastic glue and we are off to the races. These guys will be formidable (looking) as anything if you ask me. And they have a bit more armor than the rest of the skeletons which helps sell them as blitzers who have one more point of AV compared to the Linos and throwers. Maybe another bracer on the off arm to cover up the damage and further the armor factor. It shall be considered.
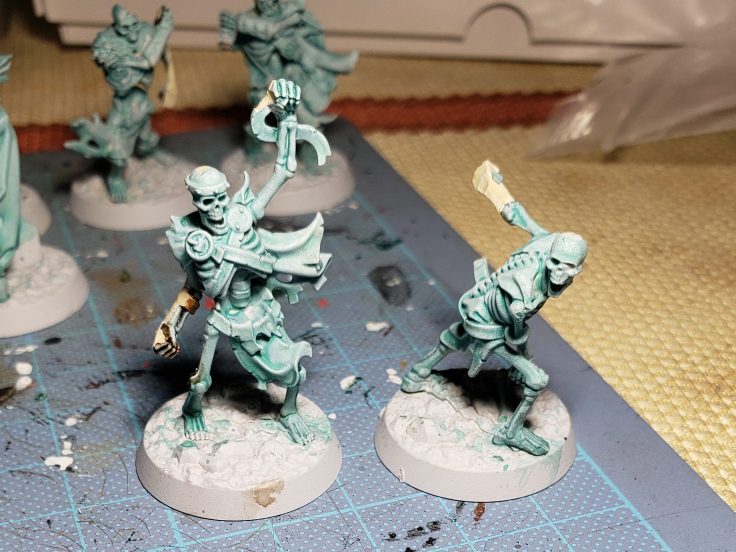
Got the cheering and triumphant ‘I can’t believe it I just picked up the ball!’ Throw-Ra on the left, and the ‘Oh Dayummmm I just heaved that bag a bones down the pitch!’ Throw-Ra on the right. They need something. A little something to push them over into full on ‘This model is a thrower’ territory and the paint job will handle that enough that it will be clear on the pitch, but I want something more. I am debating putting a ball model in the lower hand of the cheering thrower, but I am in the camp of coaches who prefer that blood bowl balls only belong on a model when they actually have possession of the ball in game.
Maybe I can do them up with a badass flowing headband or something to set them apart. That one bit of flowing cloth in the hand of the left one and their headpiece kind of inspires me. I think doing up some flowing ribbons and cloths, giving a bit more flowing cape-action to the one throwing the ball to illustrate and emphasize their motion might help sell the concept. A nice long ribbon following the arc of the throwing arm. Yeah! Keeps it on the base too. (I was originally thinking of having an actual ball on a flight stand launching away from them, but this goes back to the blood bowl balls on non-carriers issue) Give him a proper badass headband. Do them both up with other various cloths and wrappings do show that the team reveres them as those with the sure hands. Without them, it is a game of mummy punch out skeleton soccer with a blood bowl ball before the elf comes in and steals it.
SUDDENLY MUMMIES!
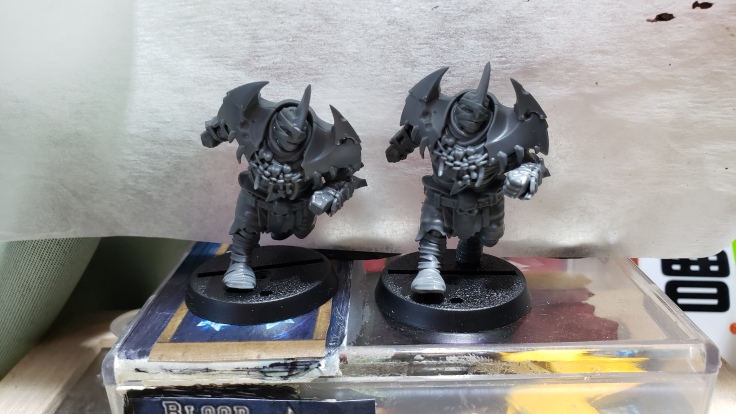
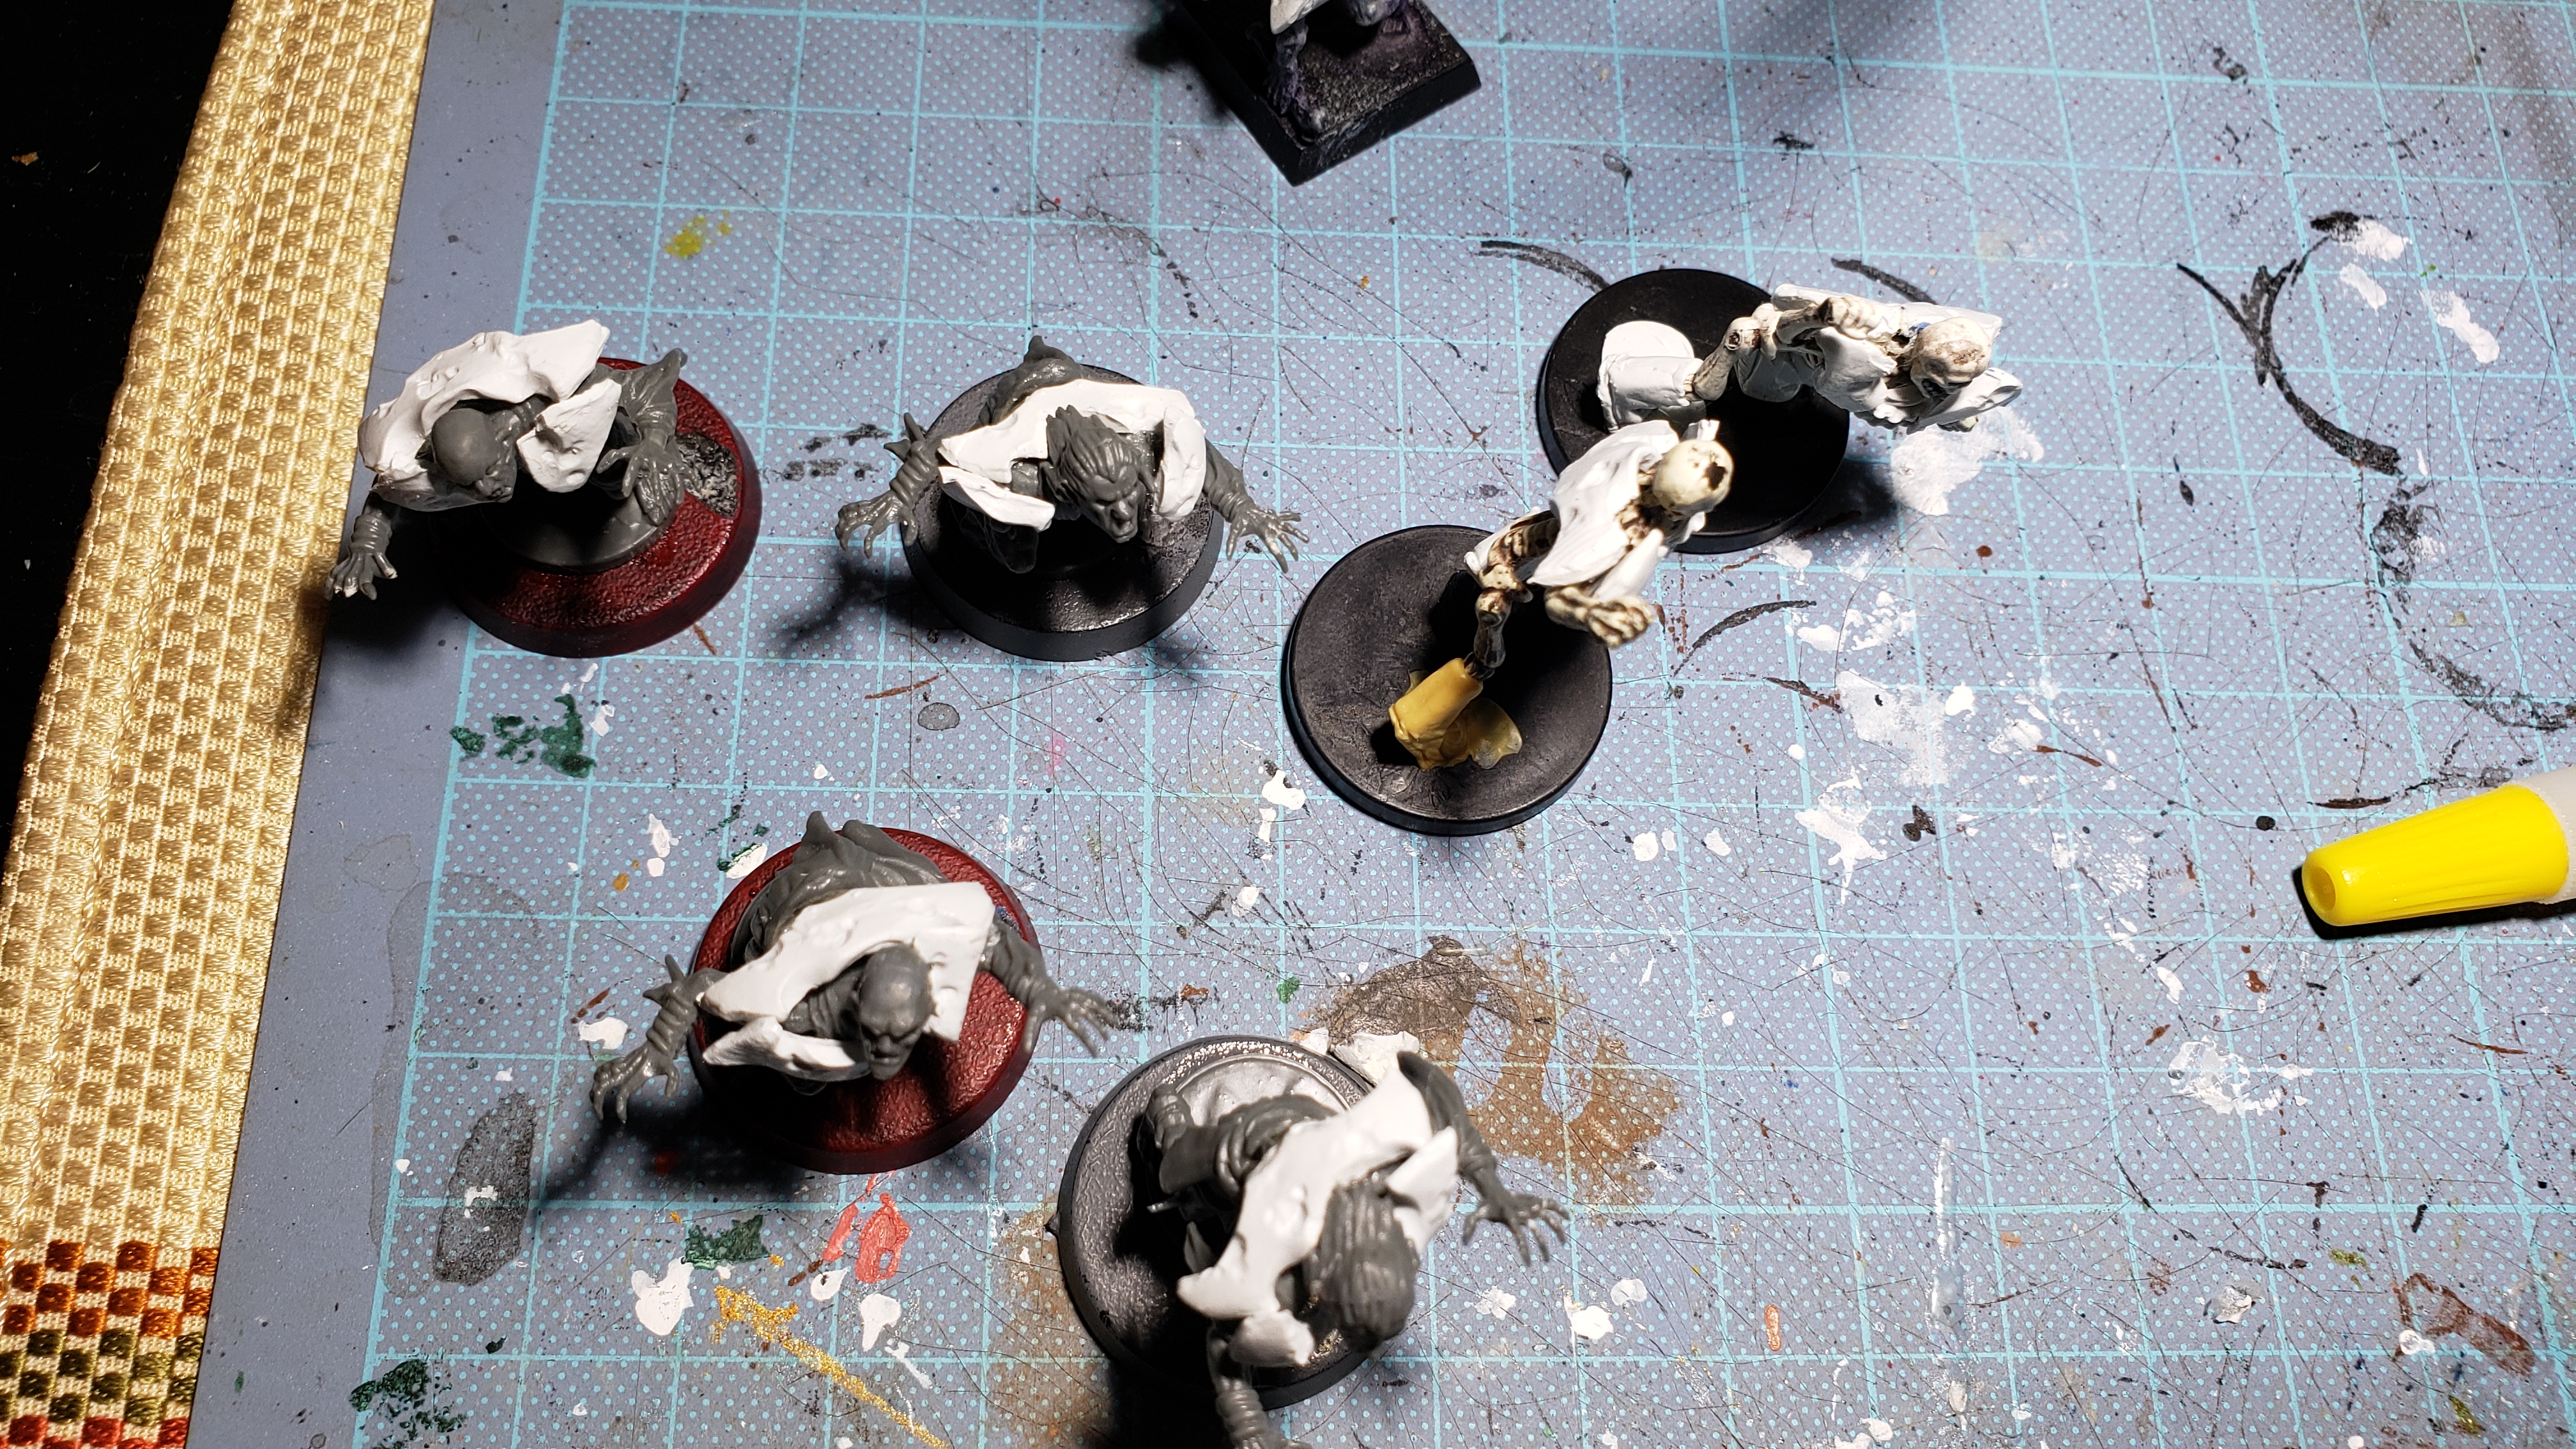
Also quickly tossed together a pair of mummies for the shambling undead version of the team, doing a simple heel & toe snip to let the one on the right stand a bit straighter on two feet instead of leaning hard and bowling forward headlong on a single foot (mostly). It will give them a little bit of subtle difference besides just the numbers. Prior to embalming, the one on the right clearly lived a more lavish lifestyle and it shows. Get it together buddy. But these guys aren’t going to be my tomb guardians for the Khemri version. I have four more of those ogryn models….

I am going to come clean. Prior to and during the writing of this article, and due to the tremendously huge pain in the ass that these shoulder pads are turning out to be for zombies and skeletons I was seriously considering just finishing the Necromantic portion of this team (To get into the painting phase and get them on the table by April/May-ish) and leave khemri and whatever shambling undead I didn’t feel like doing at the time in the (zandri) dust (Ayyy). But Nay! I have been inspired! The blog strikes again! This therapeutic exercise has actually increased my mana for the conjuration of creativity!
So seeing as those skeletons are making up most of the positionals, it really informs the flavor of the team for the most part and other than the basic line skeletons, they won’t really share much with the other two undead teams so I can lean hard on a slightly different flavor with them. (And not need to do those annoying shoulder pads. Curses.) Seeing as the tomb guardians will be pretty much completely wrapped in binding cloth, any brutal cuts and such won’t really show that much and lumps and mess beneath the cloth will probably look half decent and just add flavor and style. (is what I choose to believe at the current juncture) So I think I am going to go a bit wild with them, extend arms and legs with the cheap ass dollar store putty and try and get them into slightly more interesting poses as well since the ogryns are all, closed up and turtled in. I did it slightly with the flesh golems since I want flesh exposed there, but this time I can go ham.
After they are binded in cloth, I will try to leave the more intact and cool looking bits of the model, if any, exposed to add effect. The mummies will also be filled with glowing energy as well so a few strategic wrappings being open a bit will also prove helpful for the painting process as well. My original game plan was to just roll out tons and tons of super tiny strands of epoxy putty and have that be the ‘wrapping’ of the mummy, but it is going to be a tremendously gigantic pain in the ass. I think I will wrap actual thin strips of cloth and then douse the whole mufk in white glue/water mix. This gives me a chance to create some really interesting texture, but the size needs to be decent and it needs to be easy enough to work with or I will grow tired of it. Honestly the first thing that comes to mind is straight up bandaids, or proper gauze tape. But that will be annoying to cut to the like 1~3 mm size I need it to be.
I will have a walk around the dollar store craft area since they have a nice selection of ribbons and such that may fulfill my needs adequately and come in a convenient roll so I can just wind em up nice and easy with a dab of glue here and there to secure it. Anyway, that will be a bit further along apparently. They are pretty much the final boss of the project since I haven’t even started them yet.
Khem ri do it? Yes we Khem! (Theme of the team)
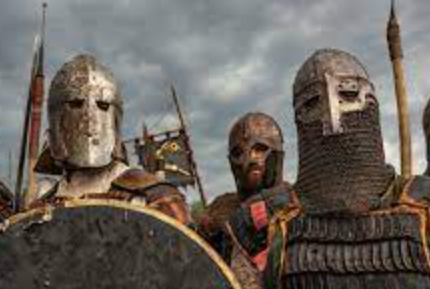
I don’t know. That just came to me and I went with it. No taking it back now. So looking at those skeletons and starting to get a feel for what they might look like when painted, or flavors and stuff I don’t think it’s going to be too ultra egyptian. I like the look of a ‘proper’ khemri team done up in golds with accents of blues and all anubian dog heads, birds of Ra, etc. But I do also think that it is overdone. It’s a great look, but I don’t think every single Khemri team needs to be straight out of the pyramids. And the skeleton warriors that will be my positionals basically, all have a more neutral ‘Winter warrior’ kind of theme with vaguely Europian or Nordicy Viking vibes (The chain skirts, fur cloaks, helmet style, etc) and I think I want to go with that a bit to flavor the team. Still skeletons, still mummy-esque tomb guardians, but just not full blown Cleopatra’s Choice Pharoh Fun Time.
My Khemri Models are going to be bit more european I think. I don’t know, I was inspired by the skeletons and how they look, even without the swords and shields. Anyway. What to do about these mummies to give them a bit of proper flavor?
Heads:
I like the look of these helms which have chain mail coming down completely. I think a mummy would be wearing a partial mask or keep their visage hidden since it is so horrible. In addition to being badass and ultimately easier to model/sculpt (I hope) than doing a proper face or eyes beneath bandages.
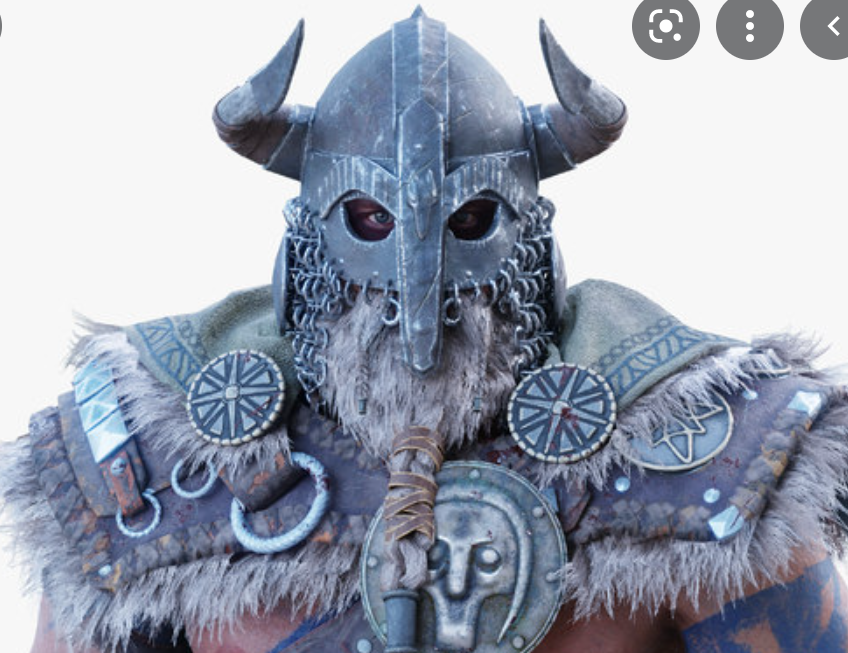
Here is another help which looks pretty good, but I don’t know if I will have horns on the helmets or not. I recently heard it was not historically accurate for vikings and honestly it is a little to dwarfy as well so we shall see. On a brutally huge tomb guardian, perhaps I can make something happen there but we will see. I do like the armor style here though with the leather/plate on top of the fur look. it goes along with the rest of the team and I could replicate it fairly easily I think. I will add some flavor and detail to otherwise ‘plain’ mummies. I think one or two with a more ‘bare chested’ look (Although it will be bandages) and just straight armor and full helm will be cool.
You can see they have the fur element, and the coach has a cape so potentially some rotted cape/ shredded flowing cloth off their backs could be in order for some of them. That pretty much covers the heads and shoulders and upper parts of the chest and back. How about the arms? The waist? The legs?
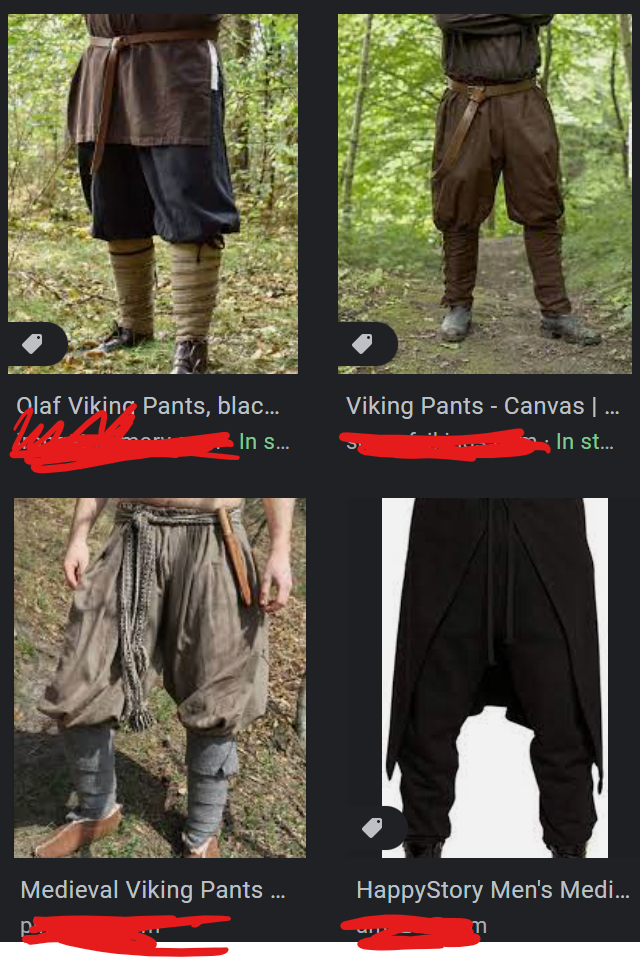
So the general vibe are these billowy pants with a belt and wrapped up leggings. I will probably just do mummy legs and maybe a belt since they are easy enough. Get some chains no there dragging down since that is kind of mummy-ish like they tried to keep him chained down but it didn’t keep. Do one or two with these pants perhaps if I figure out a good way to do the and like how it turns out. Or if I have some legs that are really wonky looking and the billowy goodness could cover up errors ha.
I think for the feet, I will keep the shoes as they are on the models already. The Bull Ogors have kind of simple plain shoes that are fairly easy to reposition and just generic. Do them up in a metal or a black and they will be fine. Maybe one or two courtesy wrappings around it to keep the theme solid if needed.
So the real question is the arms then. Obviously the easy road is to just wrap them up and put them in menacing poses and call it a day and that will be the default setting I plan for, but there needs to be something that makes them really stick out.
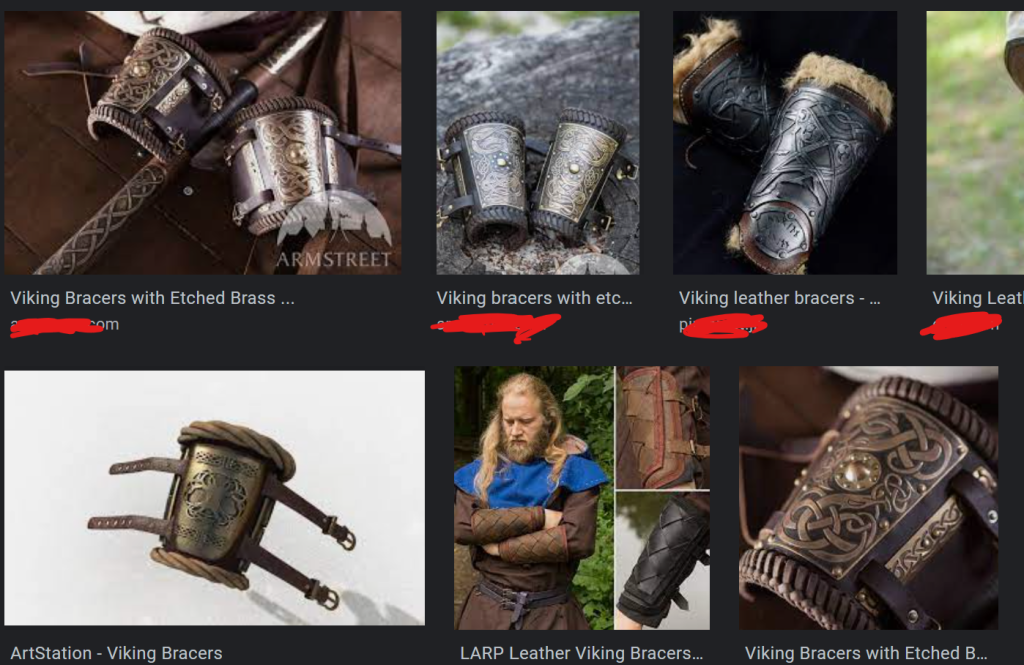
Celtic design town, but I am not too concerned about that. I think it will maybe be arm bracers or perhaps only wrist bracers and either have that fur lining on the bottom or maybe the twine-esque ringed lining. If the mood strikes potentially I can add in some more pattern, but maybe I could paint it on or something. Maybe just go for dots or stripes or something, stick on bits and call it a day.
That should be fine then. The helmets and shoulder armor and wrist/arm bracers should be more than enough to sell their connection to the positionals. They are pretty much the heart of the team and the reason Khemri are feared so they need to be super badass. It will be a lot of sculpting, but I think it will be fun and if I can fone proper (easy to use and glue down) wrapping cloth then it should be fairly painless with a little rummage through the old bits box.
What else are we missing?
Ah god I didn’t even talk about the shoulder pads business yet. Oh boy. yeah I am leaving the computer for a little while and will come back to this later. I made ultra progress on the skeletons last weekend actually and they look badass. Having trouble with some throw-ra flowing robes, but it shall be dealt with. But these shoulder pads are seriously my white whale at the moment and its killing me. I will write about them later and hopefully feel strong inspiration to get them done then. (Insert time skip here) Alright I’m back and feeling better. Let’s look at a crazy picture.
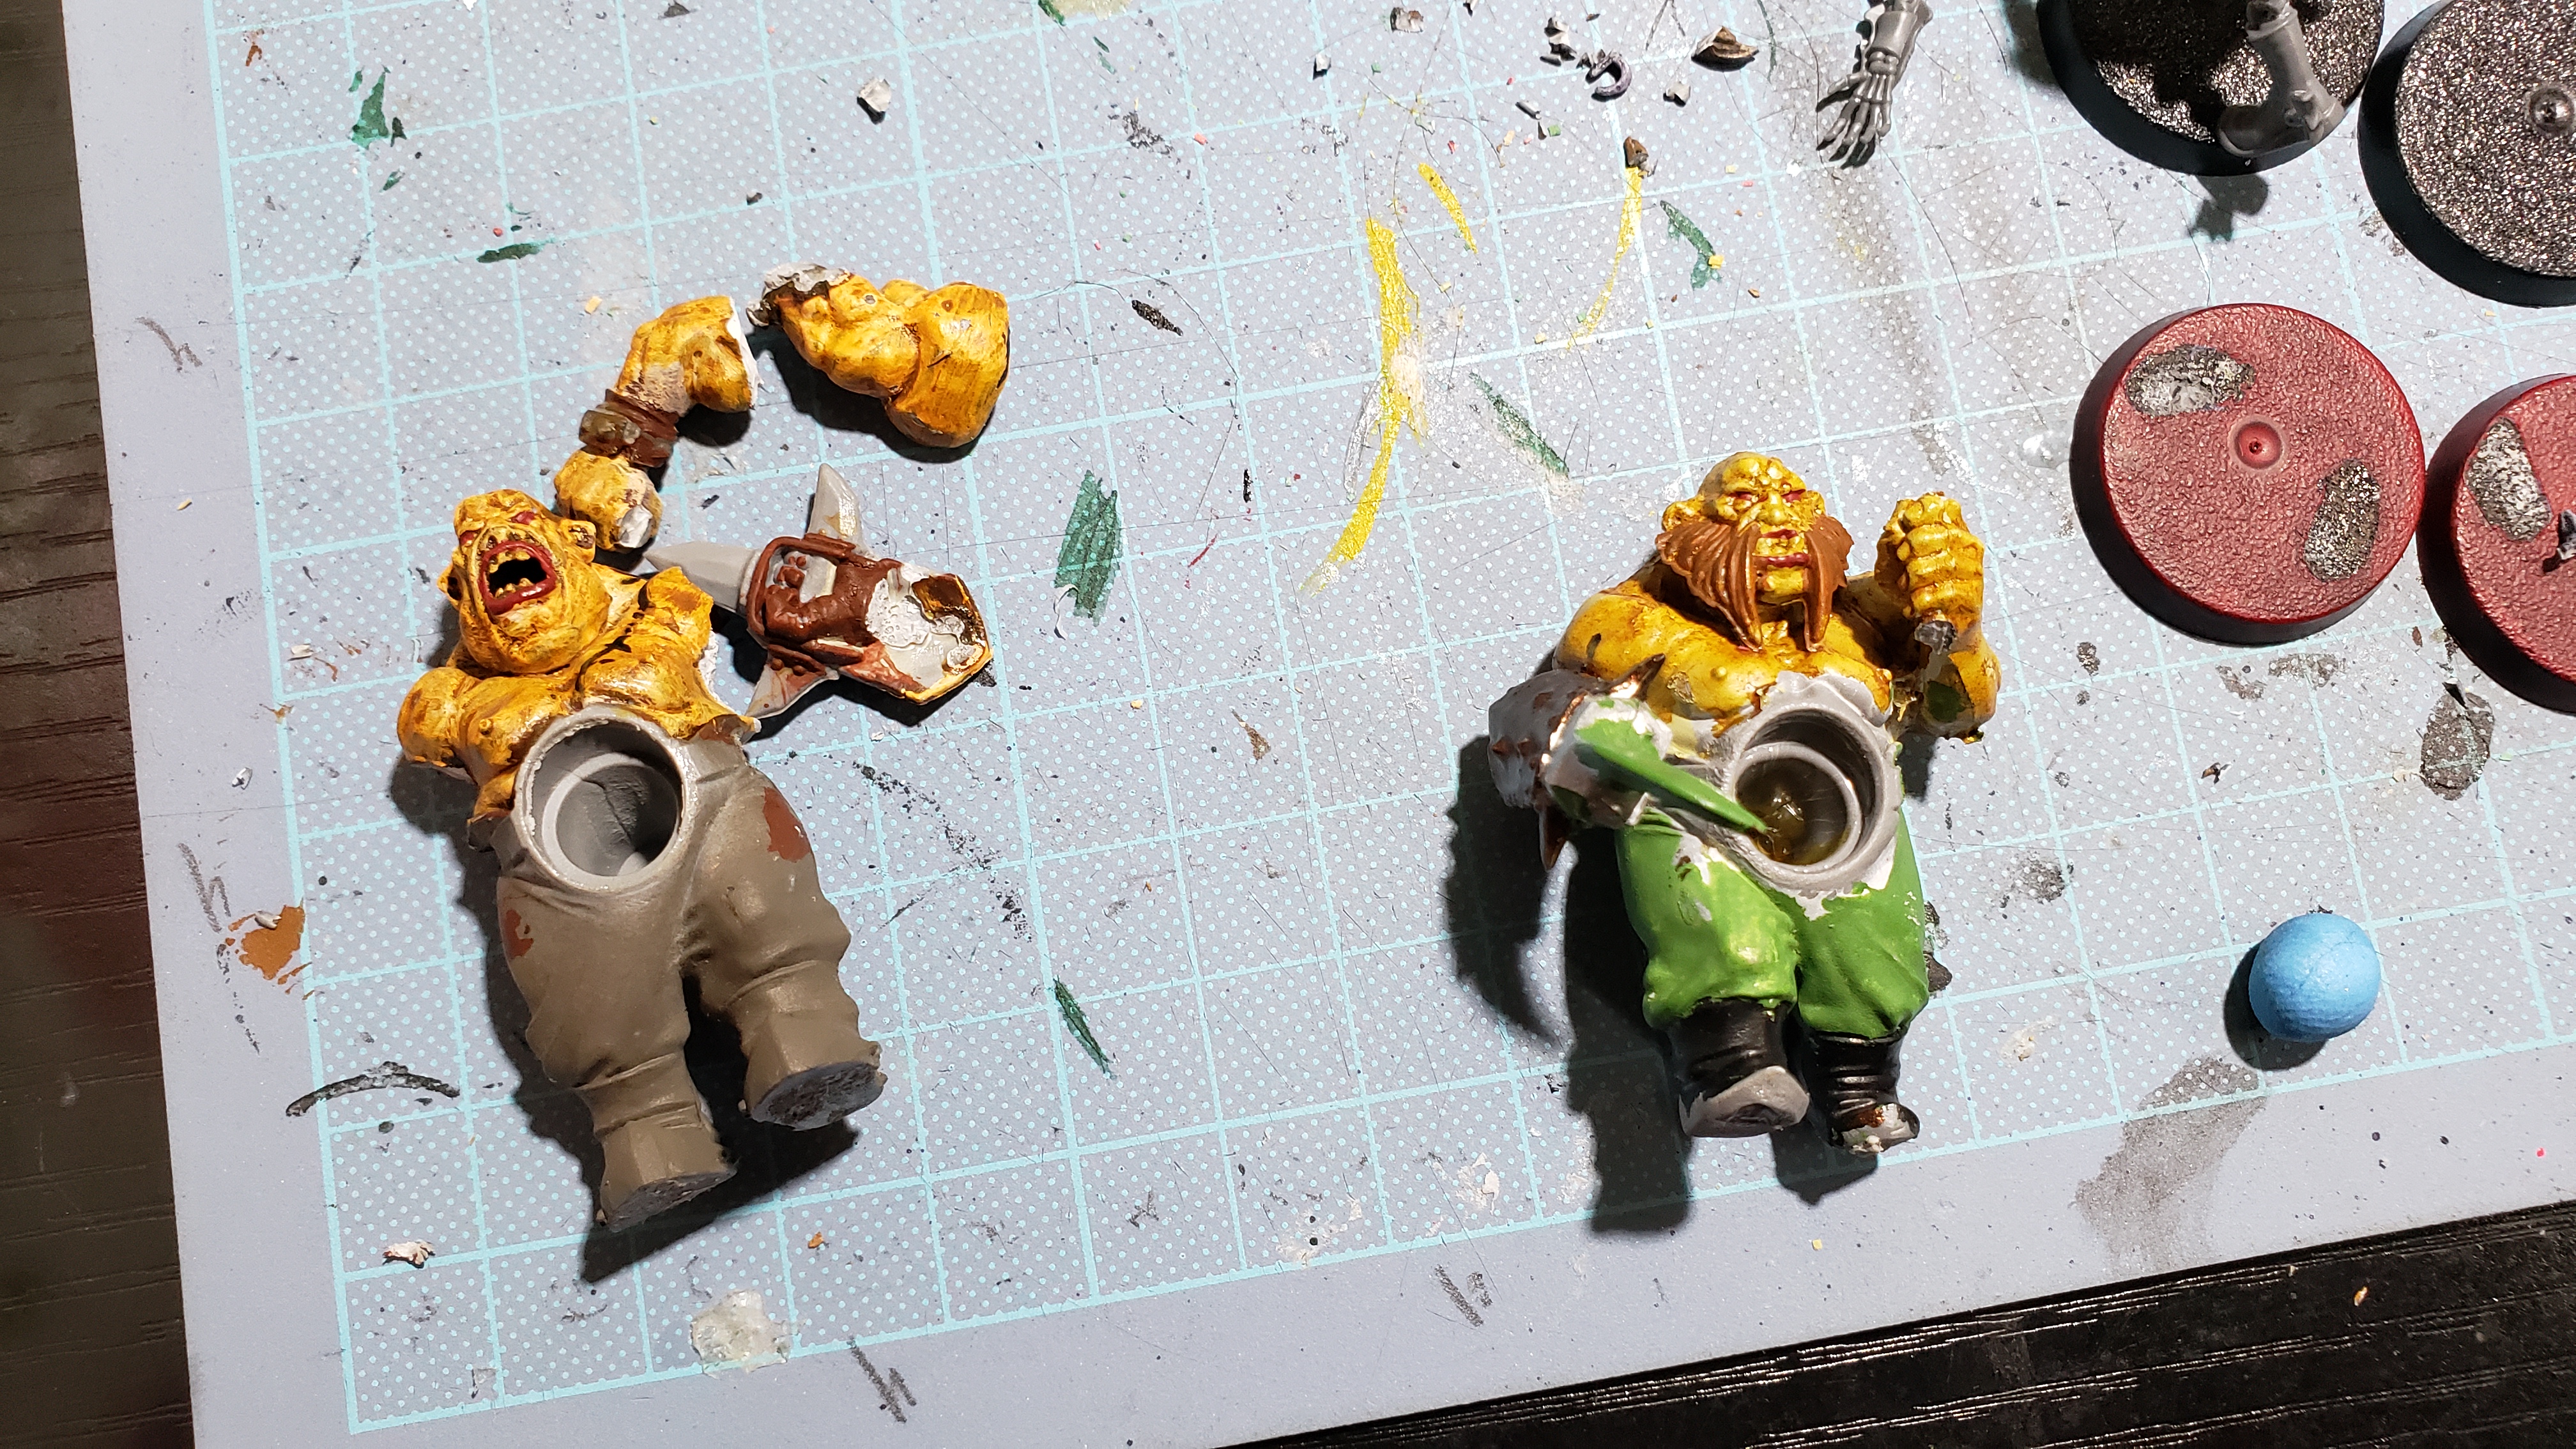
So the shoulder pad situation. I can’t seem to make a decent copy of these shoulder pads and its just turning into something that is annoying me and I am starting to get to the point that I don’t even want to bother. I don’t anticipate it looking any good, and am currently hoping for ‘decent enough’.

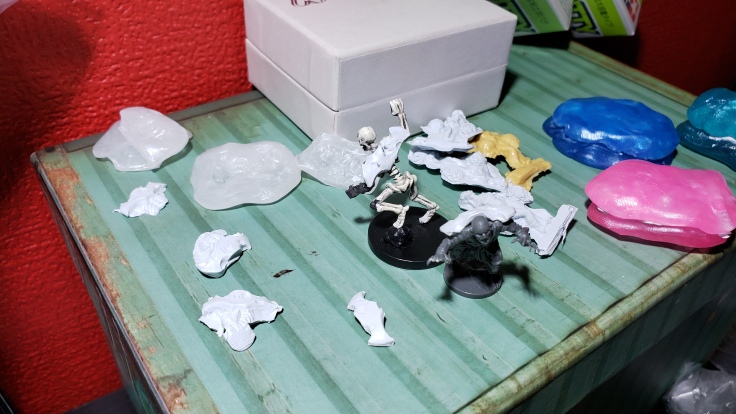
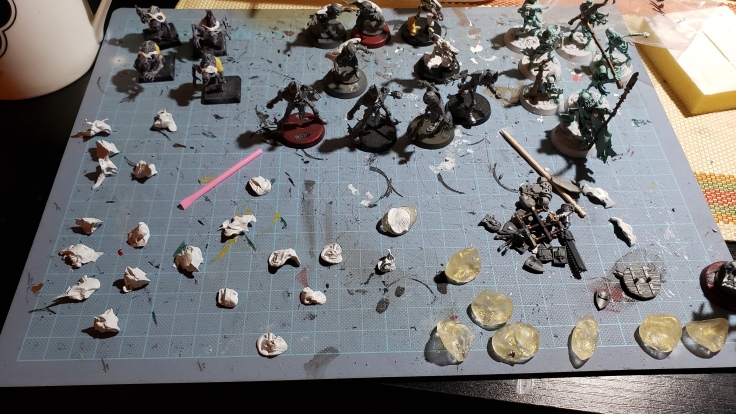
So it took two tries to make usable casts and I was being cheap for literally no reason and made tons of small casts thinking I’d leave them overnight to dry and they are just so small. I mismatched them halfway through the process and its overall a nightmare of randomly splatted out casts. Actually after writing that bit about the skeletons I dove into them headlong and pretty much have them finished. I may even post them at the end of this article since its really a slog and a work in progress. I need a proper evening to get some epoxy out since I have a few small bits I need to do with that and it should finish a majority of the project leaving the tomb guardians only.

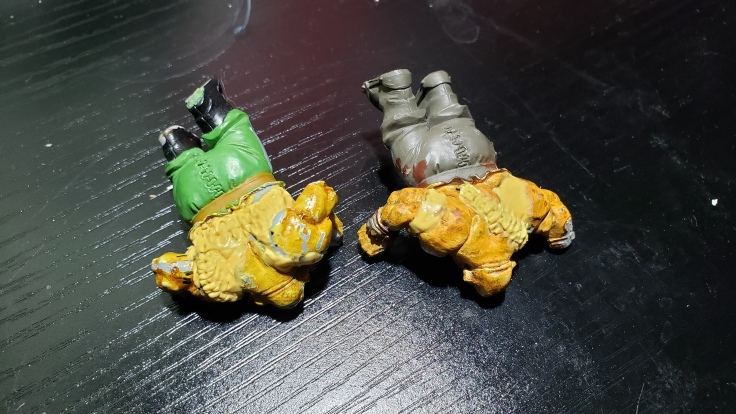
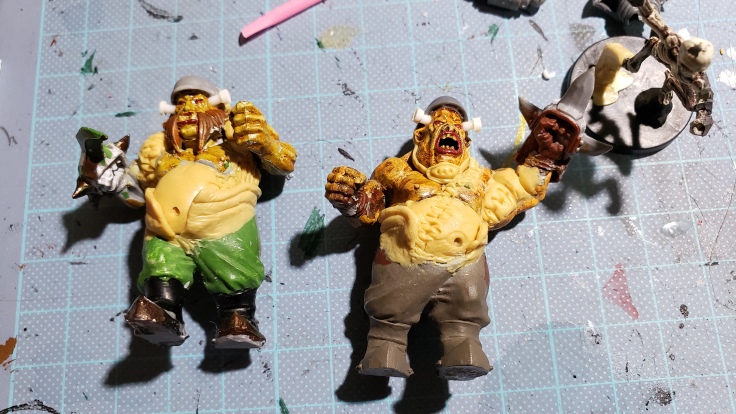
After clipping them up a bit, and sorting through what I had actually done, I managed to create 4 sets of ‘proper’ shoulder pads for my 4 ghouls. I also pressed enough 1-sided shoulder impressions to cover the remaining skeletons and zombies who got the saiyan armor I put on them before. I will use a bit of epoxy to connect them and do some (hopefully) light sculpting to bring them up to paintable status. What I managed to make is usable I think and just needs some trimming and fitting and should be good to go.

Managed a miracle sneaky hobby time last night and after closer inspection and proper prep and trimming of the shoulder pads I had casted, they were actually usable. Not too pretty, and a little epoxy will be needed to clean everything up and make it look nicer, but it should be doable. For the time being I just assume that they don’t know how the armor works and just slapped it on all randomly. Yeah, that’s it.


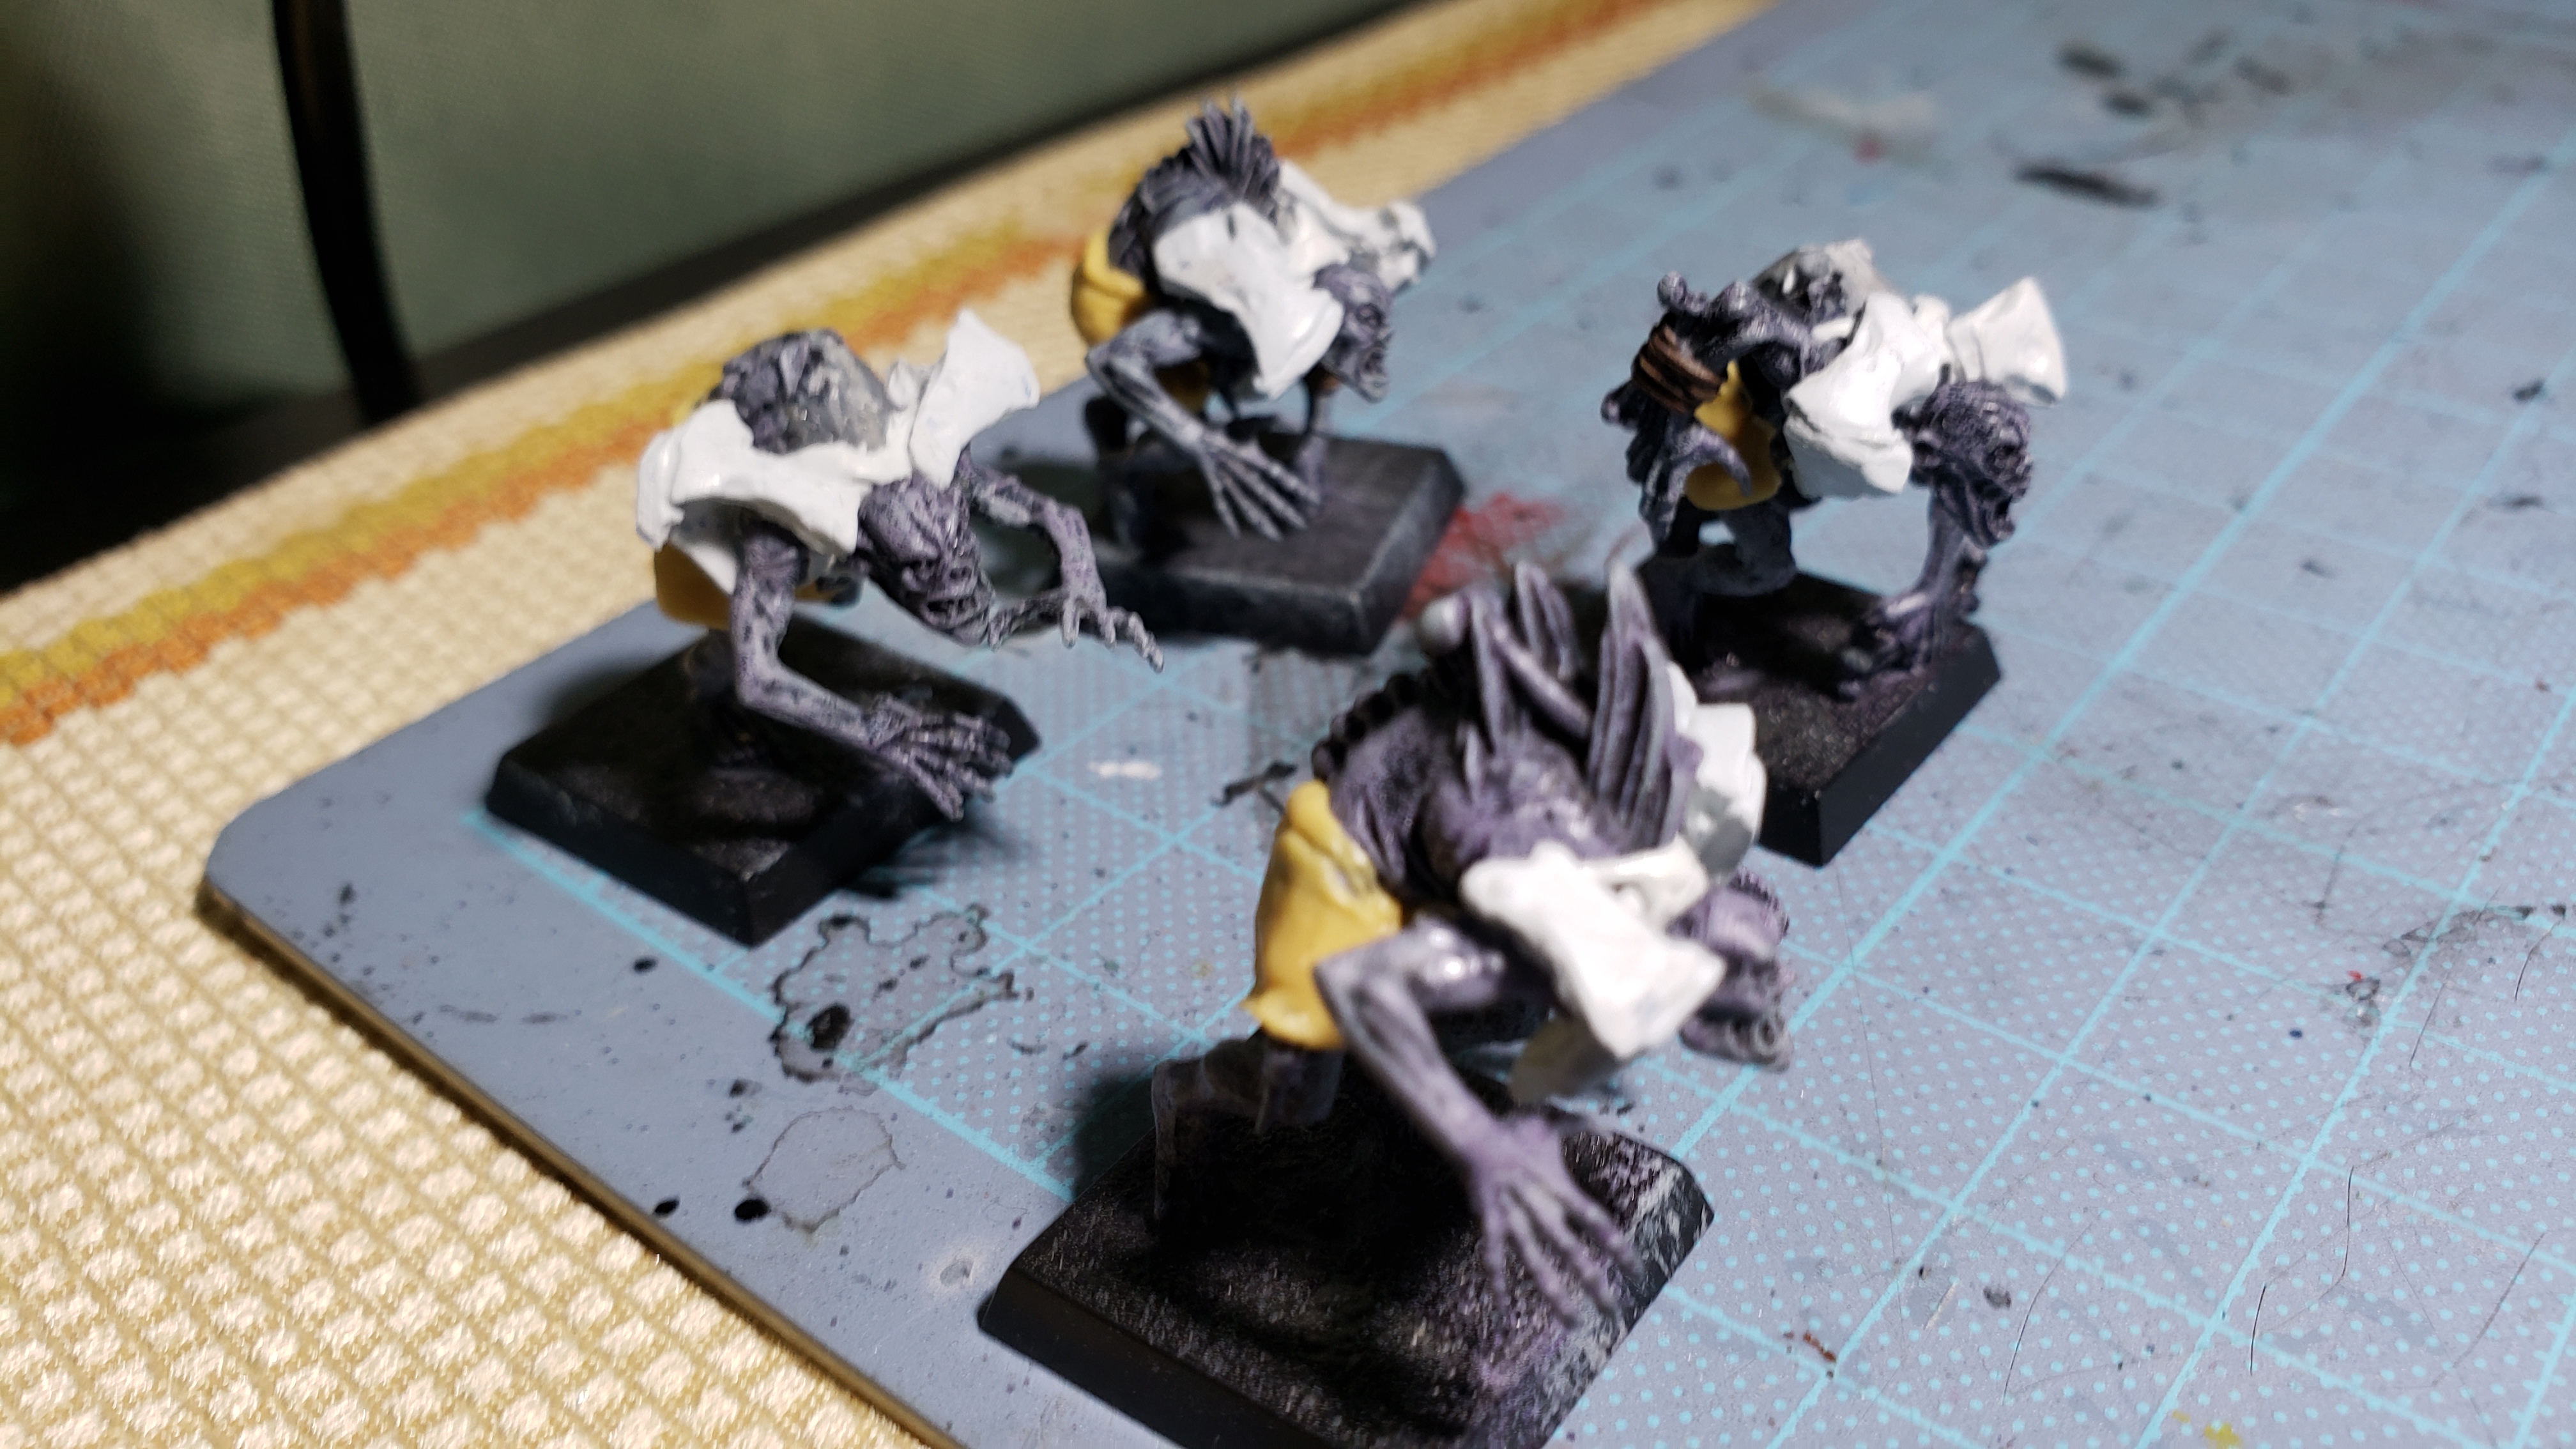
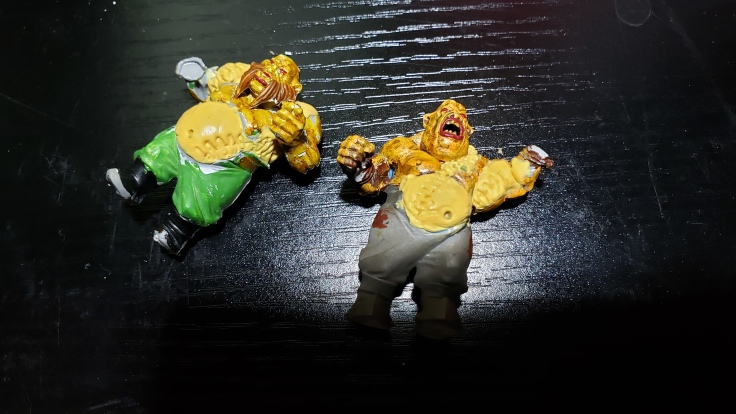
So there they are. Looking half decent as is, with only a few parts that were really funky. With some bladework and epoxy putty they will be cleaned up. This may sound strange, but for some reason while doing them up the urge to put mohawks on some of them was very strong. We shall see what comes of that, but regardless these guys are ready for the final stretch alongside the skeletons who are also waiting a little putty love.
The final line that must be crossed
Zombies and adhoc skeletons. I have 4 zombies that I made from some other company’s ghouls and the two D&D skeletons that need some shoulderpads yet. After doing up the ghouls above with their shoulder pads I have what’s left of my hasty casting operation and just need to trim and then glue those bits on before I can get to epoxy stage.

So I checked over the pads I glued on them before and I used the yellow glue from above that failed on the metal wolves and saw that it was too cold or epoxy and plastic weren’t playing nice and they just flaked off. I used the super glue I had for the wolves and sorted it back out no problem. Starting to think that ultra superglue may just be the be all end all going forward for multiple-medium projects like these.
I carved and trimmed up the little pad segments that remained and then poked around seeing which ones would fit well enough here and there. When I found one that looked decent, I glued it on. Nothing too intensely perfect at the moment since I plan on doing some putty on top of them to get some nice sharper edges and also make them look less like horrendously casted epoxy copies of shoulderpads. The zombies in particular have really gaunt poses which make armor placement tricky, but here’s to hoping it works out.
Overall, it worked out as well as I could hope and I used the mantra “let’s just get this over with and hope we can fix it with putty” and got it done.
The skeletons in particular were nice and flat so it was easy to knock them out for the most part and I used some of the nicer casts I had and managed to even replicate the neck chains between the armor which I’ll have to do with putty on the zombies. But they turned out half decent and half of them will be fairly easy to epoxy while half are going to be a truly creative effort to make look less than trash. I say that lovingly of course. Hah. Well. Just glad it’s flipping over with

And with that final armor placement I will take care of the putty goodness, but I don’t know when or how long that will take and we need to get this information out to the people! Look forward to the thrilling conclusion of the construction phase of the project when I dive deep into viking-esque tomb guardians from bull ogors and the no doubt great effort that will take.
I am looking forward to it, but will need to clear some epoxy missions on the rest of the linos and positionals before I even feel the need to start on that.
I sincerely hope that you are enjoying the read and are getting inspired yourself to undertake more hobby in your realms.
Until the next encounter dear reader,
tRM